
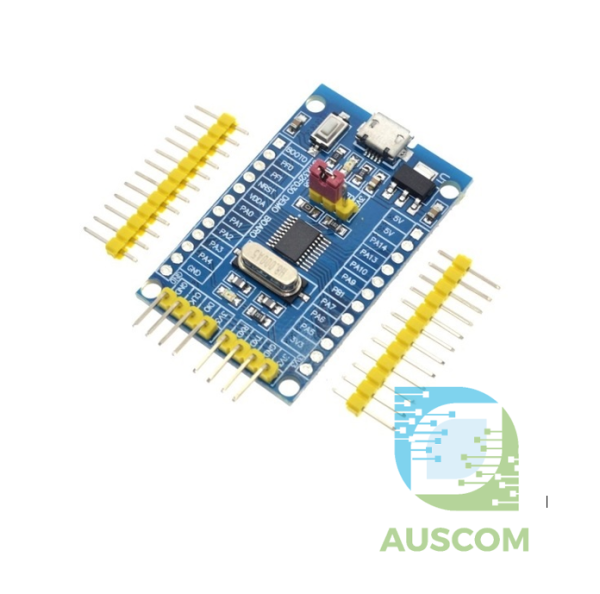
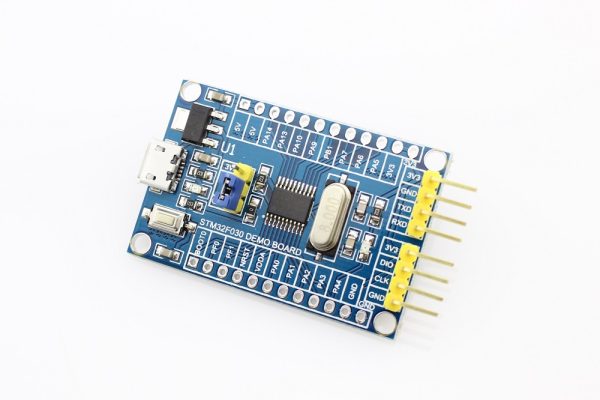
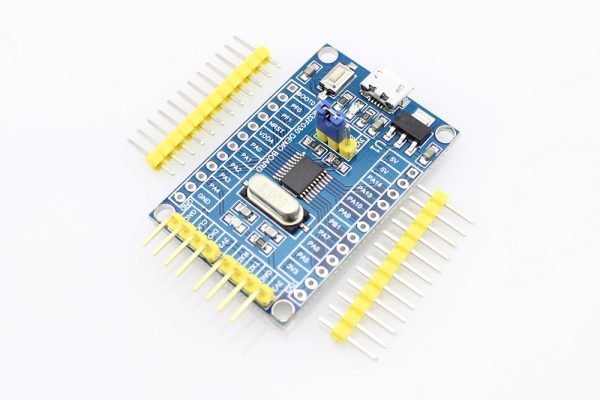
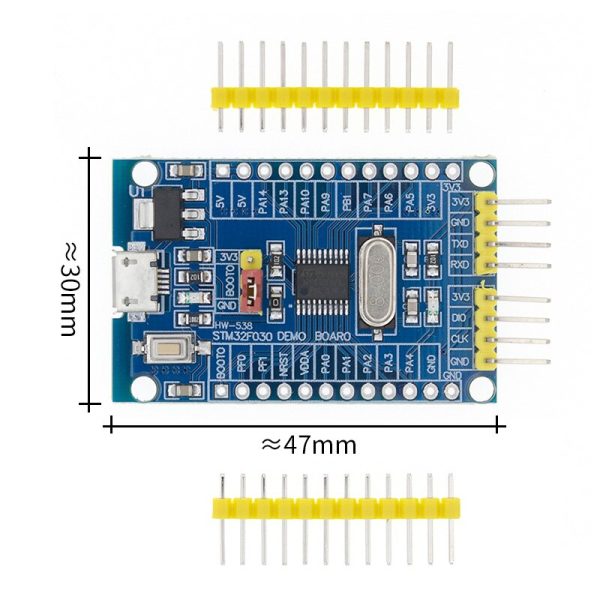
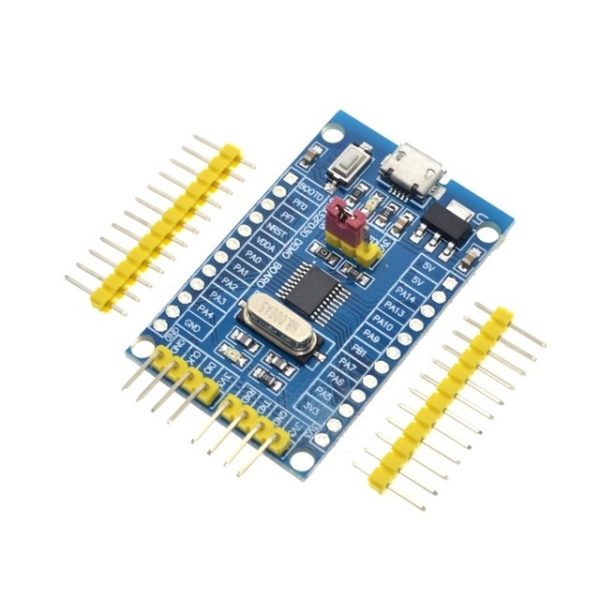
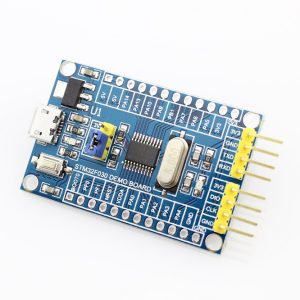
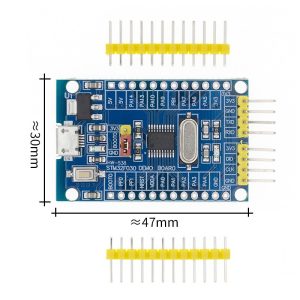
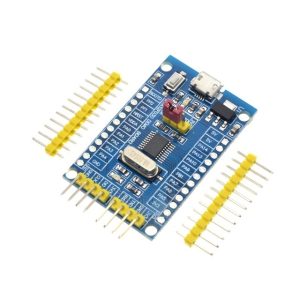
STM32F030F4P6 Minimum System Development Board CORTEX-M0 Core 32bit 48 MHz
$9.75 Inc. GST
You save
- Description
- Code Examples
- Additional information
- Reviews (0)
Description
Experience the power of the STM32F030F4P6 Minimum System Development Board, featuring the advanced CORTEX-M0 core. Designed for seamless integration and optimal performance, this board is your gateway into the world of ARM Cortex technology.
At the heart of this board lies the STM32F030F4P6 microcontroller, meticulously crafted by ST, a trusted name in the industry. With its ARM 32-bit Cortex-M0 CPU, running at an impressive frequency of up to 48 MHz, you’ll harness processing capabilities that push boundaries.
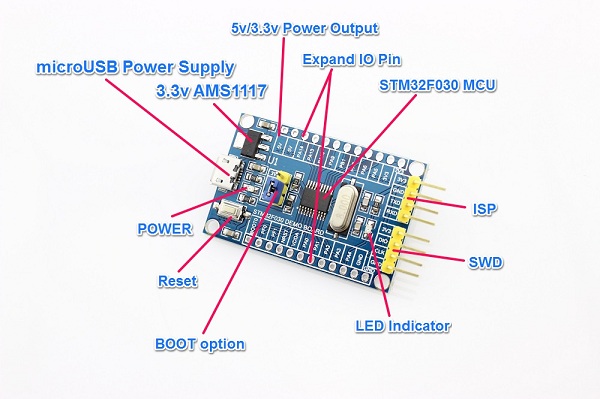
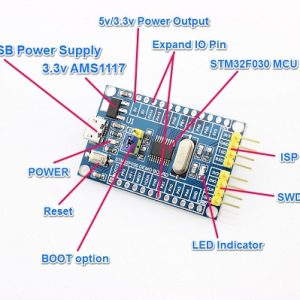
The board boasts high-speed embedded memories that enhance efficiency and responsiveness, ensuring your projects run smoothly even under demanding conditions. Its thoughtfully integrated features include a micro USB power supply interface, offering convenience and flexibility in powering your development endeavors.
For seamless programming and debugging, the ISP/SWD interface stands ready to assist. The boot mode selection further simplifies the process, demonstrating our commitment to a user-friendly experience.
Included in the package:
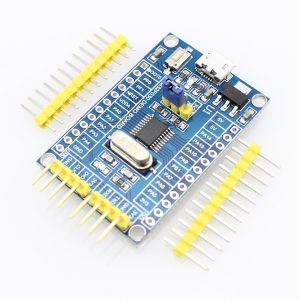
- 1 x STM32F030F4P6 Minimum System Development Board
- ARM Cortex-M0 Core
- 32-bit architecture
- Impressive 48 MHz processing speed
Embrace the future of embedded systems with the STM32F030F4P6 Minimum System Development Board. Unleash your creativity and innovation while seamlessly navigating the world of ARM Cortex technology.
📌 Code Examples & Usage – STM32F030F4P6 Development Board (Cortex-M0)
📋 Overview
The STM32F030F4P6 development board is a compact 32-bit ARM Cortex-M0 microcontroller platform designed for low-power and cost-sensitive embedded applications.
It is ideal for:
-
Industrial control
-
Sensor interfaces
-
Timing and logic control
-
Educational ARM development
-
Low-power embedded projects
Despite its small size, it provides excellent performance compared to 8-bit microcontrollers.
⚠ IMPORTANT – Bootloader Required (READ FIRST)
🚨 This board does NOT come with a bootloader pre-installed
To program this board, you MUST:
-
Use an ST-Link USB programmer
-
Upload code via ST-Link, or
-
Use ST-Link once to install a bootloader
✔ This is normal for STM32 boards
✔ This is not a fault or defect
An ST-Link programmer is required for first-time setup
⚙ Key Specifications
-
MCU: STM32F030F4P6
-
Core: ARM Cortex-M0
-
Clock speed: Up to 48 MHz
-
Flash memory: 16 KB
-
SRAM: 4 KB
-
Operating voltage: 3.3 V
-
GPIO logic: 3.3 V ONLY
-
Package: TSSOP-20
📌 GPIO pins are NOT 5 V tolerant
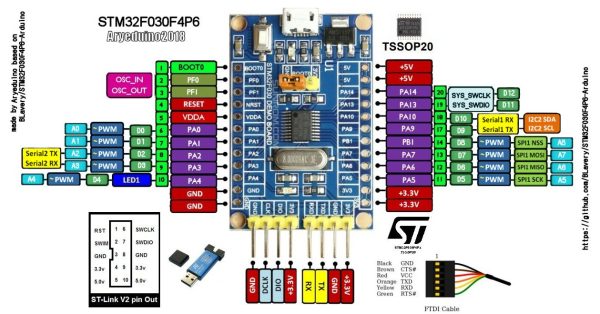
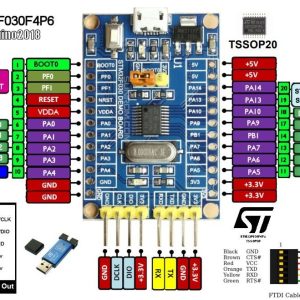
🔌 ST-Link Wiring (SWD Interface)
STM32F030 Board → ST-Link
| Board Pin | ST-Link |
|---|---|
| 3V3 | 3.3 V |
| GND | GND |
| SWDIO | SWDIO |
| SWCLK | SWCLK |
| NRST | RST (optional but recommended) |
⚠ Do NOT connect 5 V
✔ Power can be supplied from ST-Link (3.3 V) or onboard regulator
🛠 Arduino IDE Setup (STM32 Core)
1️⃣ Install STM32 Arduino Support
-
Open Arduino IDE
-
Go to File → Preferences
-
Add this URL to Additional Boards Manager URLs:
-
Open Tools → Board → Boards Manager
-
Install STM32 MCU based boards
2️⃣ Board Settings
Recommended settings:
-
Board: Generic STM32F0 series
-
Board part number: STM32F030F4Px
-
Upload method: STLink
-
CPU Speed: 48 MHz
-
USB support: None (no native USB)
📌 Uploading via ST-Link does not require a bootloader
🧪 1️⃣ First Test – Blink LED
✔ Confirms ST-Link connection
✔ Confirms board and toolchain are working
🧪 2️⃣ GPIO Input Example (Button)
🔁 Bootloader Option (Optional)
Instead of programming via ST-Link every time, you may:
-
Install a serial or custom bootloader
-
Upload firmware via UART in future
⚠ Bootloader installation still requires ST-Link once
✔ Recommended for development
✔ ST-Link remains useful for recovery and debugging
⚡ Power & Voltage Notes
-
Logic level: 3.3 V
-
Do NOT apply 5 V to GPIO
-
External peripherals must be 3.3 V compatible
-
Use level shifters if interfacing with 5 V devices
🧠 Tips & Best Practices
✔ Always keep an ST-Link available
✔ Avoid floating GPIO inputs
✔ Use pull-ups / pull-downs where required
✔ Keep wiring short for SWD
✔ Ideal upgrade from Arduino Nano-class projects
Additional information
| Weight | 40 g |
|---|---|
| Dimensions | 260 × 160 × 20 mm |
Only logged in customers who have purchased this product may leave a review.




Reviews
There are no reviews yet.