
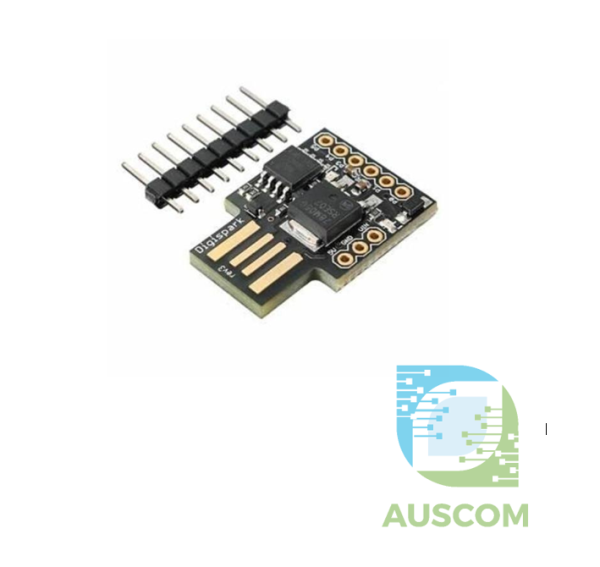
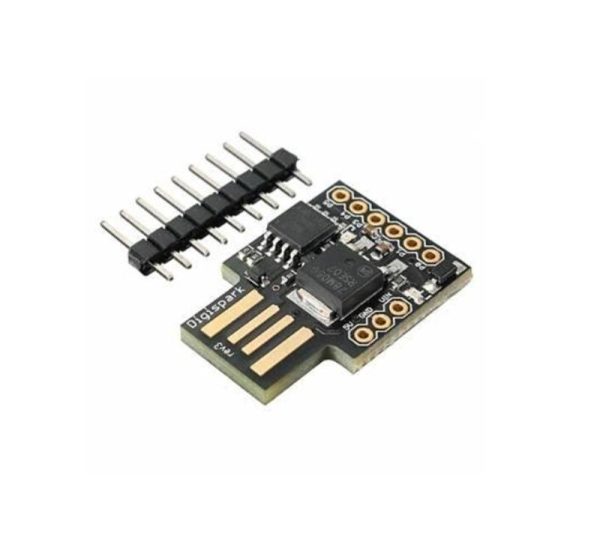
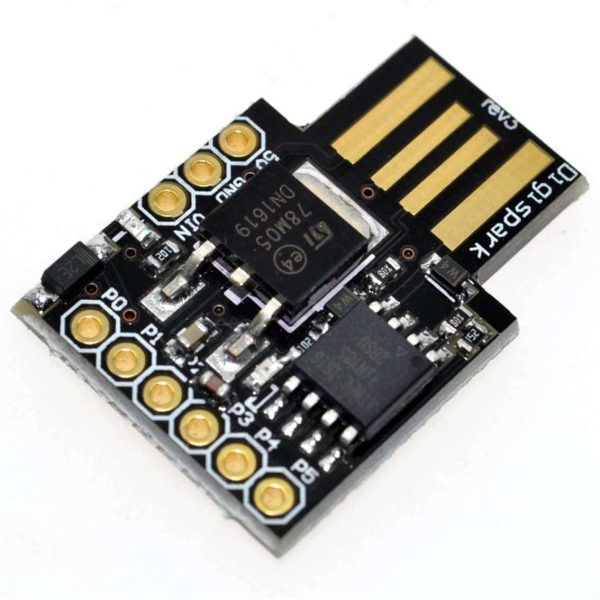
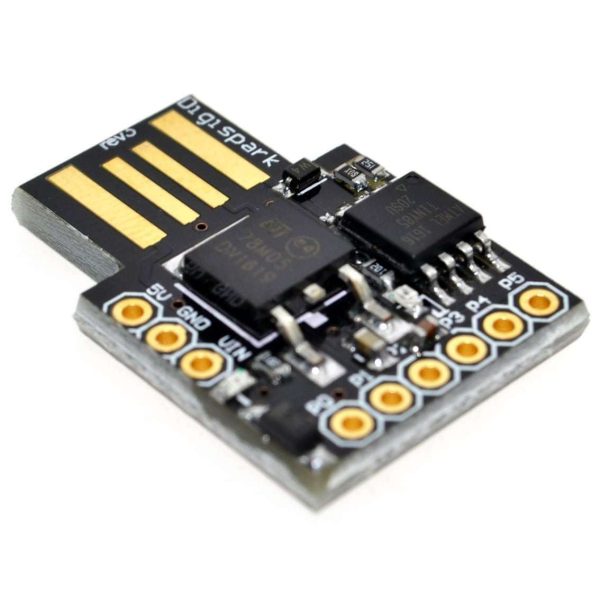
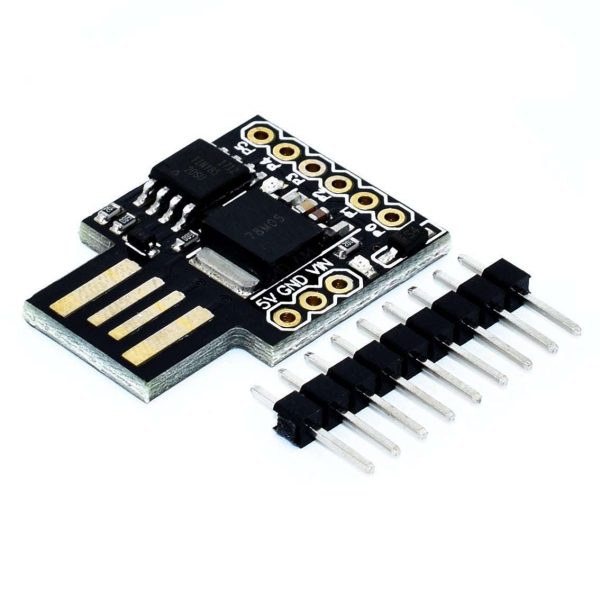
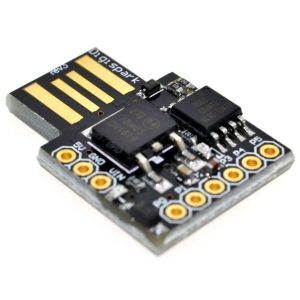
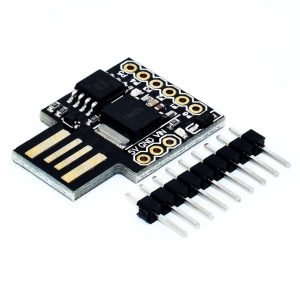
Digispark ATTINY85 Micro USB Development Board – Arduino Compatible

$9.40 Inc. GST
You save
- Description
- Code Examples
- Additional information
- Reviews (0)
Description
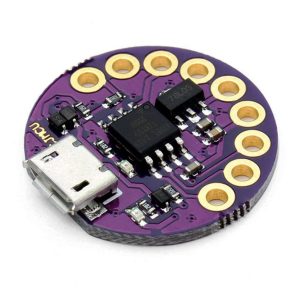
Revolutionize Your Projects with the ATTINY85 Digispark Arduino-Compatible Board – Unleash the Power of USB Rubber Ducky BadUSB
Unleash your creativity with the ATTINY85 Digispark Arduino-Compatible Board – a cutting-edge microcontroller development board that’s not only cost-effective but also compact and versatile. Comparable to the well-known Arduino line, this board offers a smaller form factor and slightly reduced power while maintaining an array of features that make it an exceptional choice for electronic projects. Whether you’re taking your first steps into electronics or need a more streamlined solution, the Digispark is here to elevate your experience.
Key Features:
- Seamless IDE 1.0+ Support (Compatible with OSX/Win/Linux)
- Dual Power Options: USB or External Source (5v to 7-35v range, with 12v or lower recommended for optimal performance – automatic voltage selection)
- On-Board 500mA 5V Regulator for Enhanced Convenience
- Built-In USB Functionality for Effortless Connectivity
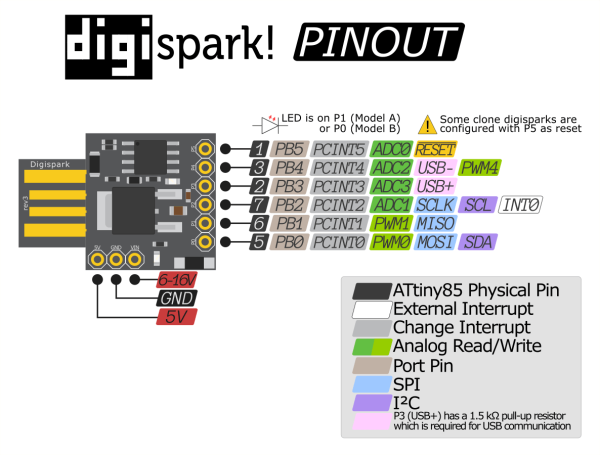
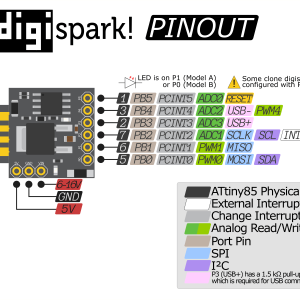
- 6 Versatile I/O Pins (2 pins dedicated to USB communication when actively used, but all 6 pins accessible even during USB programming)
- Robust 8KB Flash Memory (Approximately 6KB available post-bootloader)
- I2C and SPI Compatibility via USI (Universal Serial Interface)
- PWM Capability across 3 Pins (Potential for more pins with Software PWM implementation)
- 4 Pins for Analog-to-Digital Conversion (ADC)
- Visual Clarity with Power LED and Test/Status LED
Why Choose the ATTINY85 Digispark?
The ATTINY85 Digispark Arduino-Compatible Board opens doors to an innovative realm of project possibilities. Its affordability, compact size, and seamless integration with the popular Arduino IDE empower both beginners and seasoned enthusiasts. No longer will size or complexity hinder your ambitions – the Digispark brings your ideas to life while retaining the features you need.
Experience the next step in microcontroller development – order your ATTINY85 Digispark today and discover limitless potential.
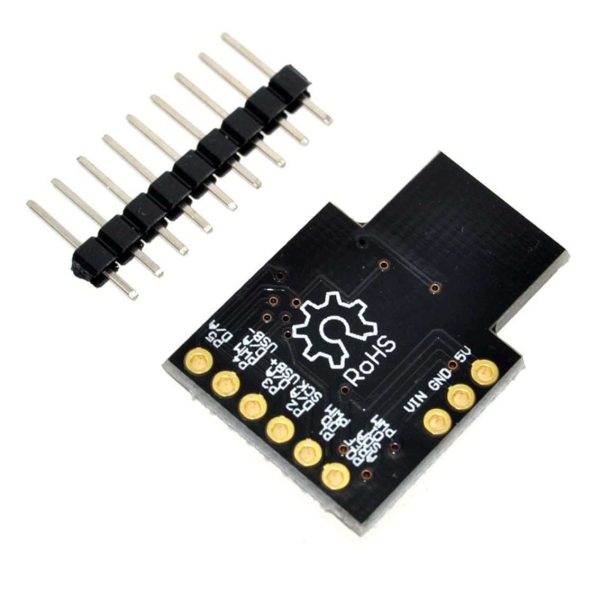
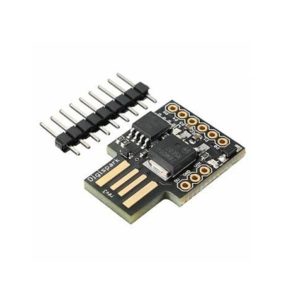
(Note: The ATTINY85 Digispark comes fully assembled, requiring only simple soldering of the included headers. Explore our range of shields to extend functionality.)
📌 Code Examples & Usage – Digispark ATTiny85 USB Development Board
📋 Overview
The Digispark ATTiny85 is a compact, low-cost Arduino-compatible microcontroller with built-in USB, making it ideal for:
-
USB HID projects (keyboard / mouse)
-
BadUSB / Rubber Ducky–style experiments
-
Small automation tools
-
USB macros
-
Educational embedded projects
Despite its small size, it can act as a USB device without requiring a separate USB-to-serial adapter.
⚠ IMPORTANT – Special Upload Procedure (READ THIS FIRST)
🚨 The Digispark does NOT upload code like a normal Arduino
This board uses a timed USB bootloader.
✅ Correct Upload Process (Very Important)
-
DO NOT plug the Digispark into USB
-
In Arduino IDE, click Upload
-
Wait until Arduino says:
“Plug in device now…” -
Plug the Digispark into USB
-
Upload will start automatically
⚠ If the board is already plugged in, upload will fail
This is normal behaviour, not a fault.
⚙ Key Specifications
-
MCU: ATtiny85
-
Clock: 16.5 MHz (internal)
-
Flash: 8 KB (bootloader uses ~2 KB)
-
SRAM: 512 bytes
-
Logic voltage: 5 V
-
USB: Built-in (Low Speed)
-
GPIO: 6 usable I/O pins
🛠 Arduino IDE Setup (Required)
1️⃣ Install Digispark Board Support
Open Arduino IDE → File → Preferences
Add this URL to Additional Boards Manager URLs:
Then:
-
Open Tools → Board → Boards Manager
-
Search for Digistump AVR Boards
-
Install it
2️⃣ Select Board & Settings
Set the following:
-
Board: Digispark (Default – 16.5MHz)
-
Programmer: Micronucleus
-
Port: Not required (USB handled automatically)
🔌 Pin Mapping (Digispark ATTiny85)
| Digispark Pin | ATtiny85 Pin | Arduino Pin |
|---|---|---|
| P0 | PB0 | 0 |
| P1 | PB1 | 1 |
| P2 | PB2 | 2 |
| P3 | PB3 | 3 |
| P4 | PB4 | 4 |
| P5 | PB5 | 5 (RESET) |
📌 P5 is RESET by default (can be changed with fuse programming)
🧪 1️⃣ First Test – Blink LED
Most Digispark boards have an LED on Pin 1.
✔ Confirms board and bootloader are working
✔ Use correct upload procedure above
⌨ 2️⃣ USB Keyboard Example (BadUSB Style)
⚠ Use responsibly and only on systems you own or have permission to test
✔ Appears as a USB keyboard
✔ Works on Windows, macOS, and Linux
🖱 3️⃣ USB Mouse Example
⚡ Power & USB Notes
-
Powered directly from USB
-
USB voltage ≈ 5 V
-
GPIO current is limited
-
Not suitable for high-current loads
-
External devices may require separate power
🧠 Common Issues & Fixes
| Issue | Cause | Solution |
|---|---|---|
| Upload fails | Board plugged in too early | Unplug, retry upload |
| Not detected | Wrong board selected | Select Digispark (16.5MHz) |
| Keyboard not working | Missing DigiKeyboard lib | Install Digistump core |
| Limited memory | Small flash size | Keep sketches minimal |
Additional information
| Weight | 30 g |
|---|---|
| Dimensions | 260 × 160 × 20 mm |
Only logged in customers who have purchased this product may leave a review.




Reviews
There are no reviews yet.