
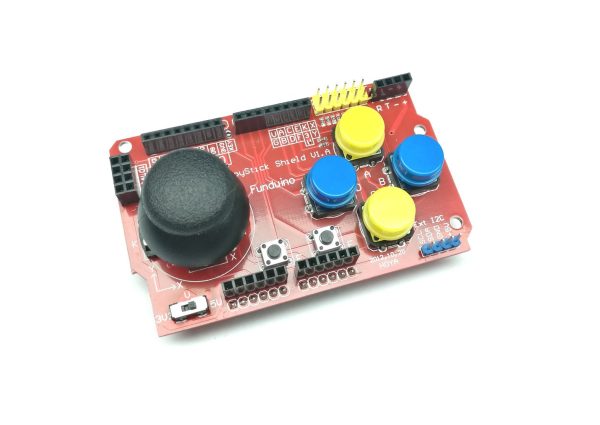
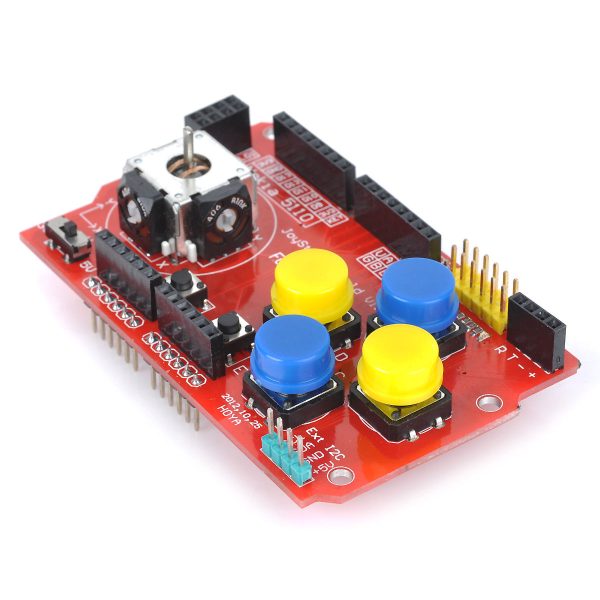
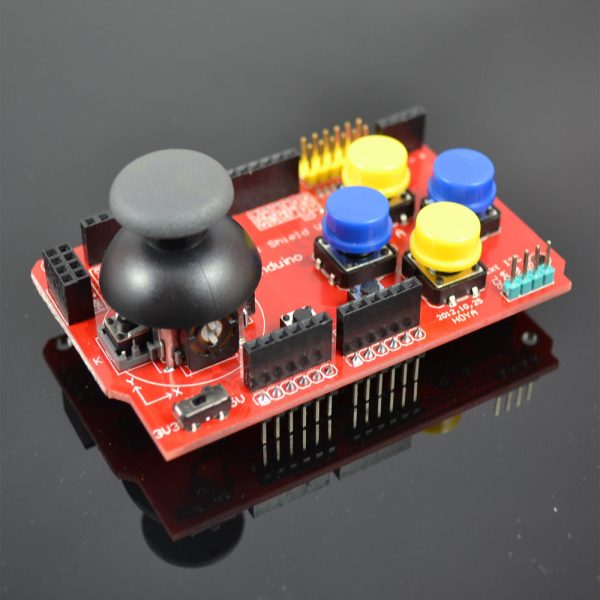
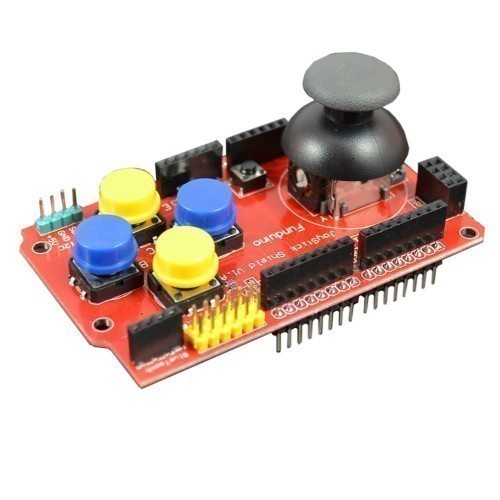
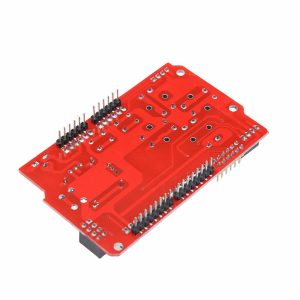
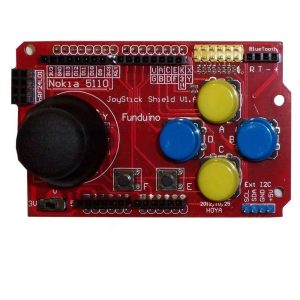
Gamepad JoyStick Keypad Buttons Shield PS2 Arduino Uno I2C

$17.90 Inc. GST
You save (%)
- Description
- Code Examples
- Additional information
- Reviews (0)
Description
Enhance Your Gaming Experience with the Upgraded Joystick V2.0 for Arduino Uno – Elevate Your Arduino Projects to the Next Level!
Introducing the Joystick V2.0 with Nokia 5110 LCD and nRF24L01 Interface – Unleash the Power of Wireless Communication in Your Gaming Creations!
Upgrade your gaming possibilities with the Joystick V2.0 for Arduino Uno. Now featuring an integrated Nokia 5110 LCD and an nRF24L01 interface, this joystick opens up a world of opportunities for developing immersive gaming experiences and seamless wireless communication between devices.
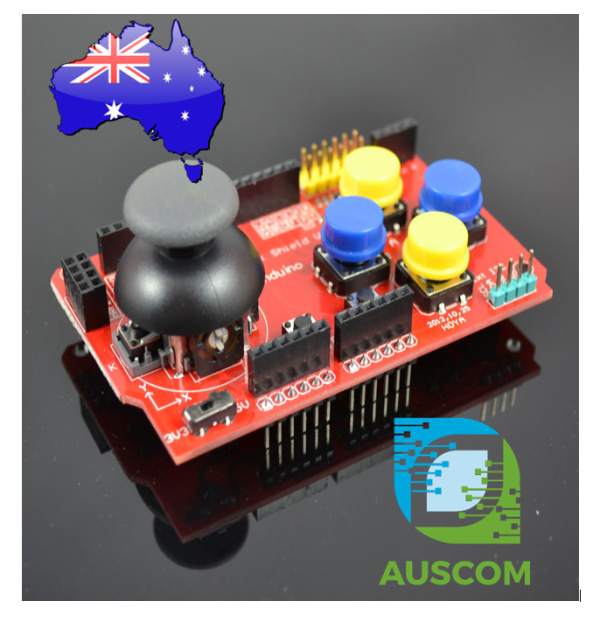
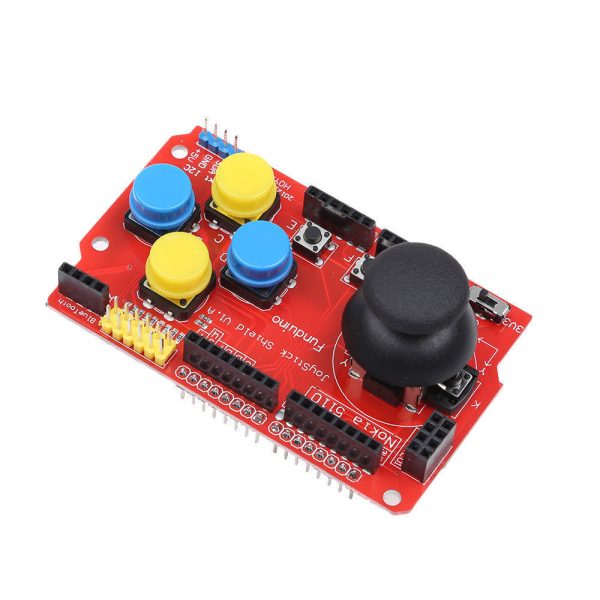
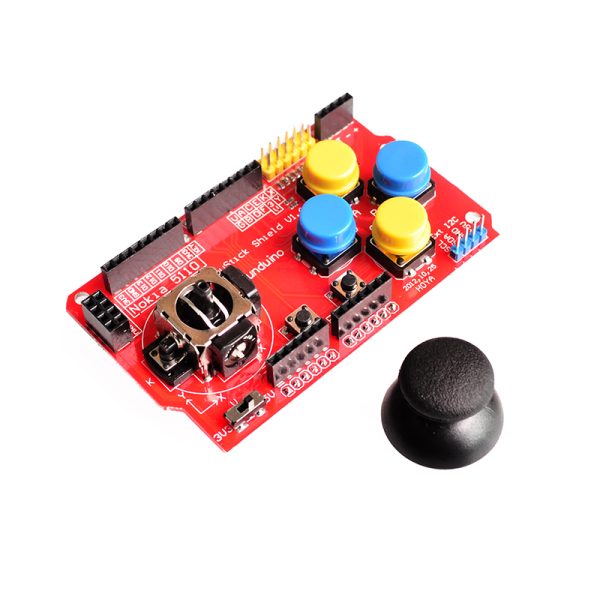
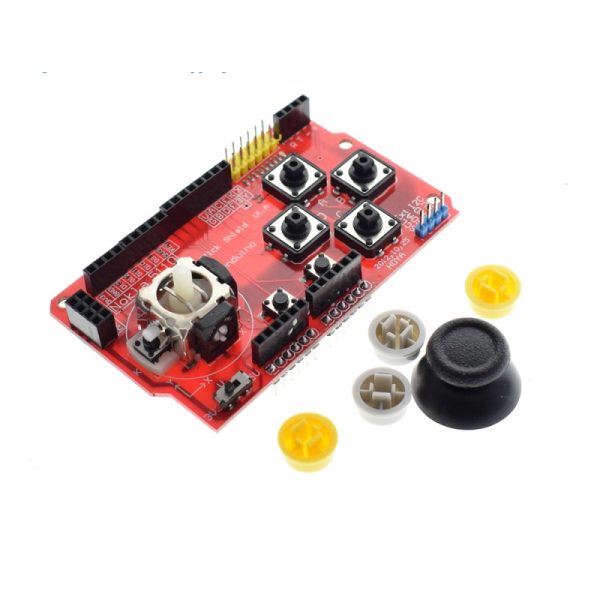
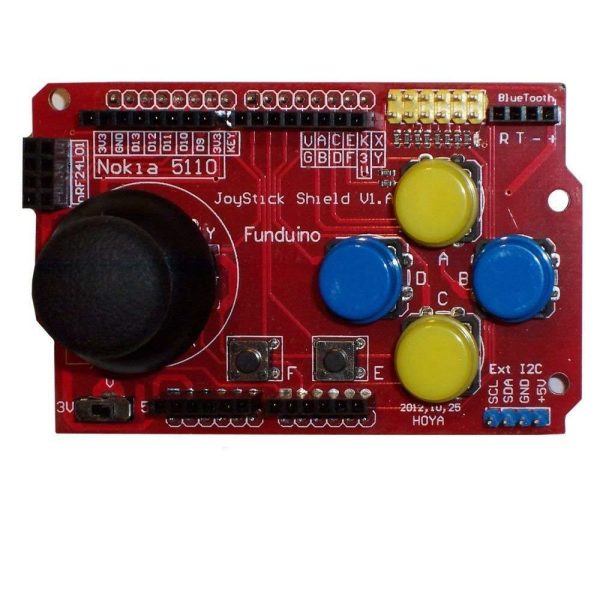
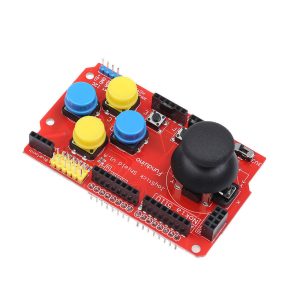
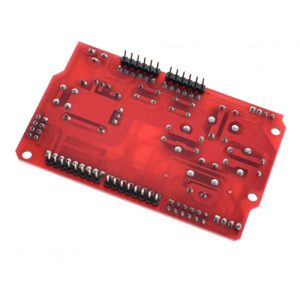
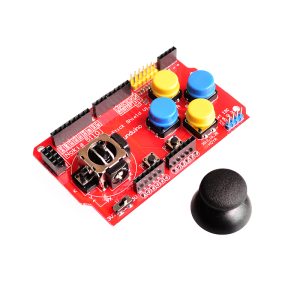
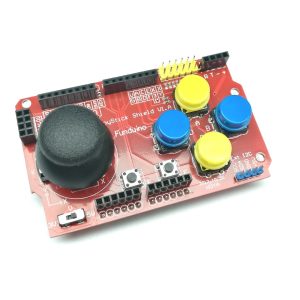
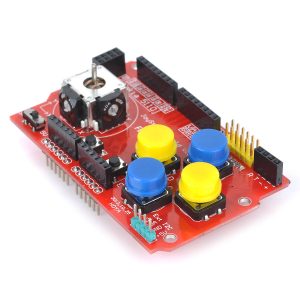
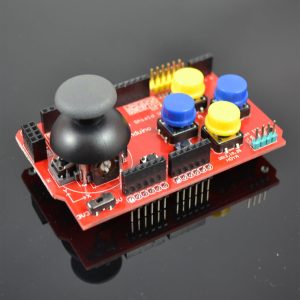
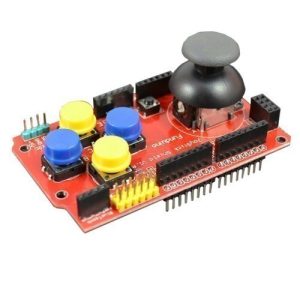
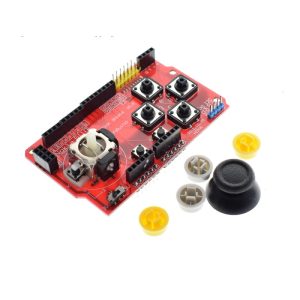
Designed to seamlessly integrate with your Arduino Uno, this shield instantly transforms it into a versatile gaming controller. With a total of 7 responsive momentary push buttons, including 4 large buttons, 2 small buttons, and a joystick select button, along with a precision-engineered two-axis thumb joystick, your Arduino projects can now achieve functionality reminiscent of the classic Nintendo controllers that we all cherish.
It’s important to note that the Joystick V2.0 with Nokia 5110 integration may not be compatible with the standard Arduino board. The reason behind this is the standard Arduino board’s limited 3.3v power supply, which provides a mere 50mA current output – insufficient to power the backlight of the Nokia 5110. However, our specialized Freaduino offers an impressive 800mA current supply, far surpassing the demands of the Nokia 5110. This ensures optimal performance and display quality for your gaming experiences.
Please be aware that the button covers come in mixed colors, which might vary from those depicted in the images. Embrace the uniqueness of your gaming setup!
Elevate your gaming creations today with the Joystick V2.0 – Unleash Wireless Gaming and Unparalleled Control with Arduino Uno and Freaduino. Order now and embark on a journey of limitless gaming possibilities!
📌 Code Examples & Usage – Gamepad Joystick & Button Shield (PS2 Style, I²C)
📋 Overview
This PS2-style gamepad joystick shield combines dual analog joysticks and multiple buttons into a single controller board that communicates via I²C, greatly reducing the number of GPIO pins required.
It is ideal for:
-
Robot and RC vehicle control
-
Game and emulator controllers
-
Menu navigation & UI input
-
Educational STEM projects
-
Arduino-based control panels
📌 Unlike classic PS2 controllers, this module communicates over I²C, not SPI.
⚙ Key Features
-
Interface: I²C
-
Compatible with Arduino Uno / Mega
-
Dual analog joysticks (X/Y axes)
-
Multiple digital buttons
-
Single I²C address (module dependent)
-
Plug-and-play shield format
⚠ IMPORTANT – Read Before Use
✔ Uses I²C, not direct GPIO
✔ Default voltage: 5V
✔ Only uses SDA & SCL plus power
✔ Much simpler wiring than GPIO-based gamepads
📌 Button mapping is handled internally by the module’s controller IC.
🔌 Wiring (I²C)
When used as a shield, the pins connect automatically.
For jumper-wire use:
| Shield Pin | Arduino Uno |
|---|---|
| VCC | 5V |
| GND | GND |
| SDA | A4 |
| SCL | A5 |
🔍 I²C Address
Most versions use a fixed I²C address (commonly 0x40 or 0x52, depending on firmware).
If unsure, run an I²C scanner to confirm:
🧪 1️⃣ Basic Example – Read Joystick & Buttons (Arduino)
This example shows the general read pattern used by most I²C gamepad shields.
(Register layout may vary slightly between versions.)
📌 Joystick values are typically 0–255, centered near ~127.
🎮 2️⃣ Simple Robot Control Example (Joystick → Motor Speed)
This pairs perfectly with:
-
L298N / L293D motor drivers
-
ESP8266 / ESP32 robot projects
-
Tank-style or differential drive robots
🧪 3️⃣ Button Action Example
📌 Button bit positions vary by module revision — print raw values first to confirm mapping.
🎛 Calibration Notes
✔ Joysticks may not center perfectly
✔ Use a dead zone around the center value:
This prevents jitter when hands are off the stick.
🧠 Common Issues & Fixes
| Issue | Cause | Fix |
|---|---|---|
| No response | Wrong I²C address | Run I²C scanner |
| Random values | Loose shield contact | Reseat shield |
| Jittery joystick | No dead zone | Add software dead zone |
| Buttons reversed | Bit mapping | Adjust bit masks |
Additional information
| Weight | 60 g |
|---|---|
| Dimensions | 260 × 160 × 20 mm |
Only logged in customers who have purchased this product may leave a review.








Reviews
There are no reviews yet.