
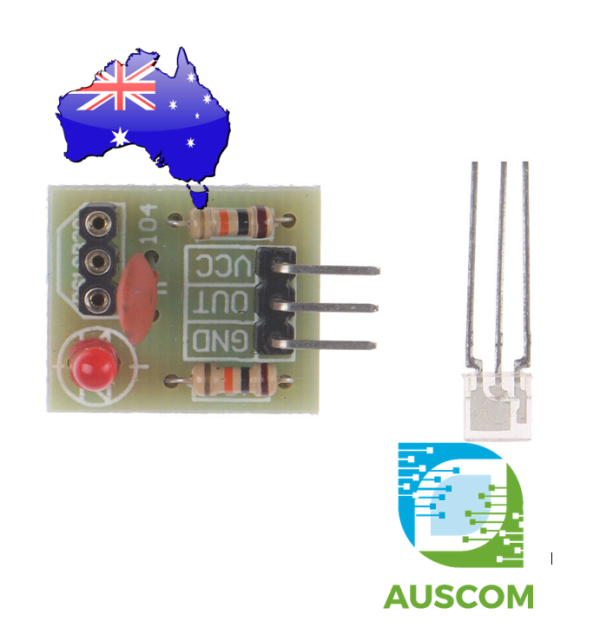
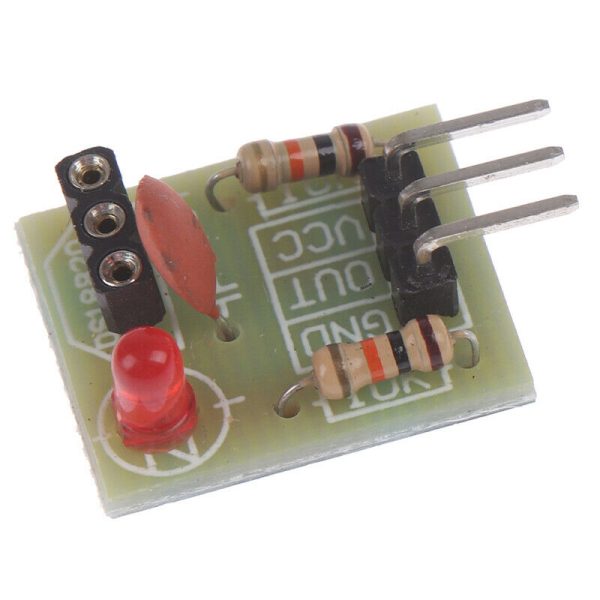
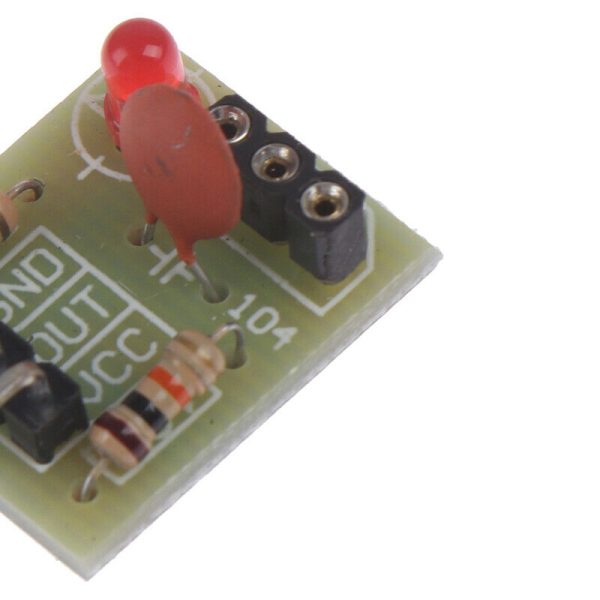
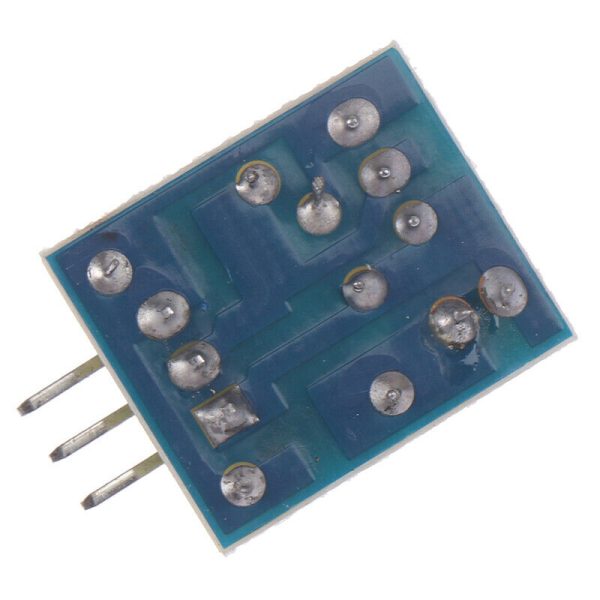
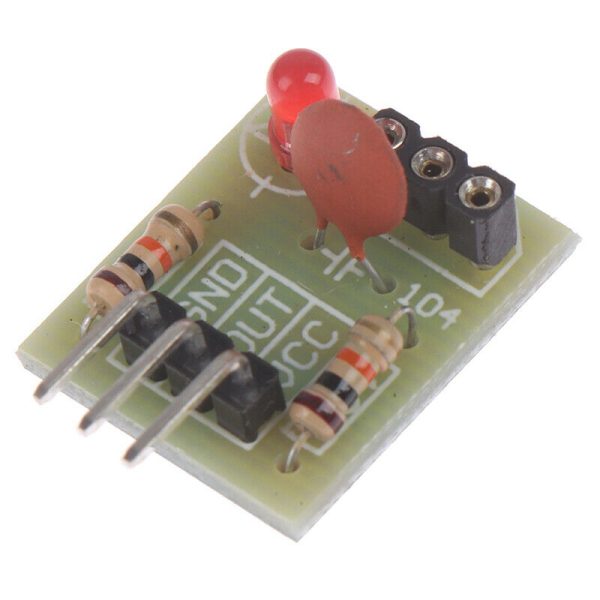
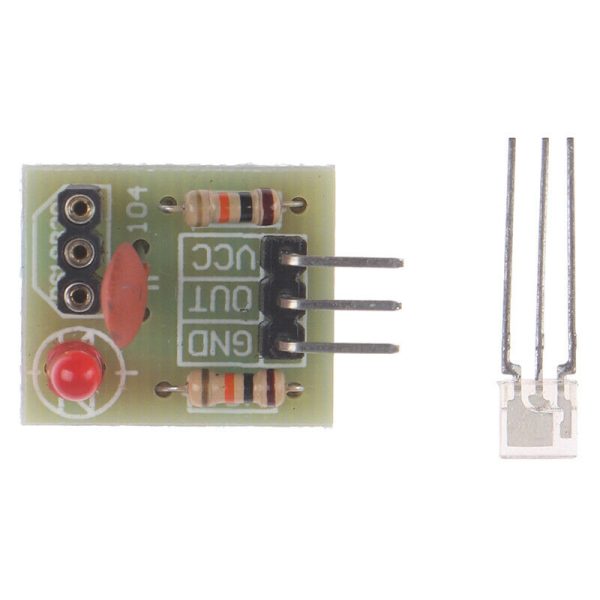
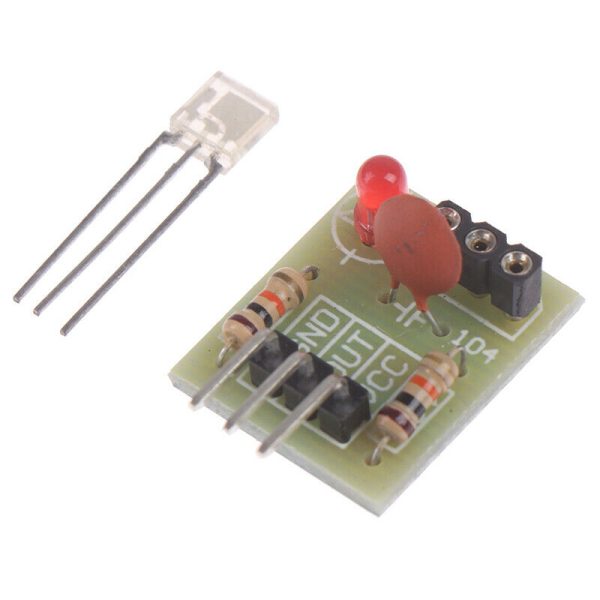
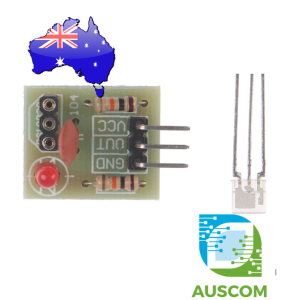
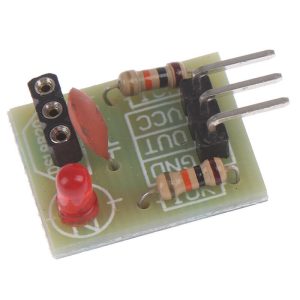
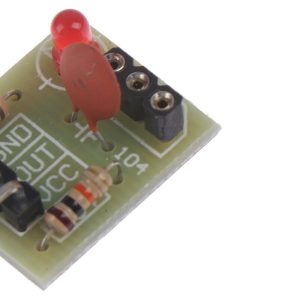
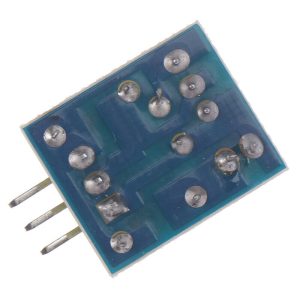
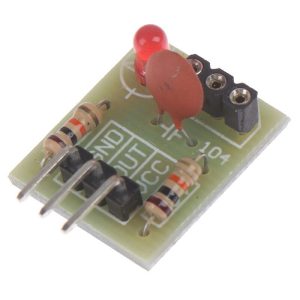
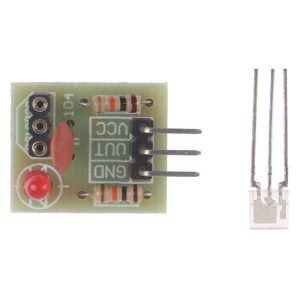
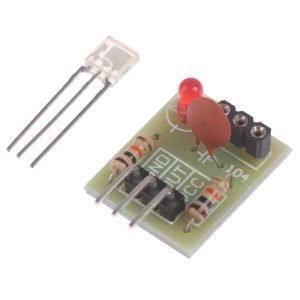
Laser Receiver Sensor Module non-modulator Tube 5V Arduino
$9.95 Inc. GST
You save (%)
- Description
- Code Examples
- Additional information
- Reviews (0)
Description
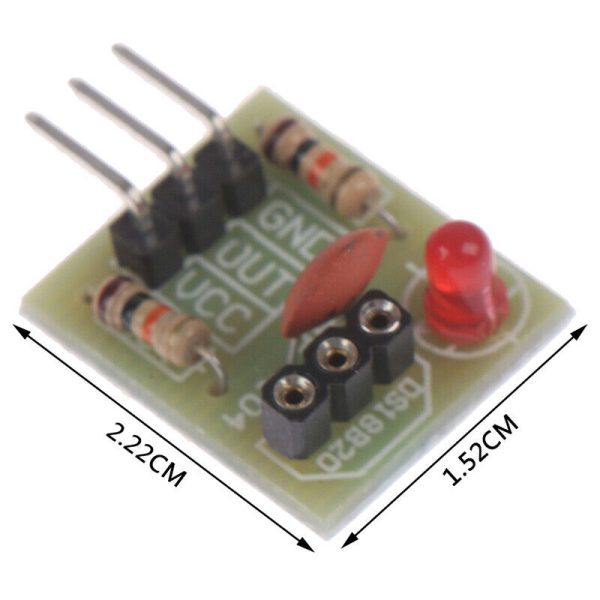
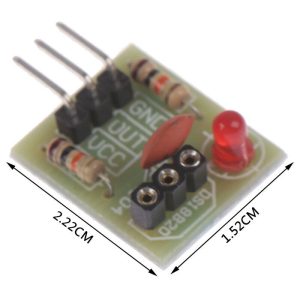
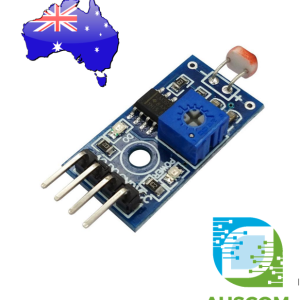
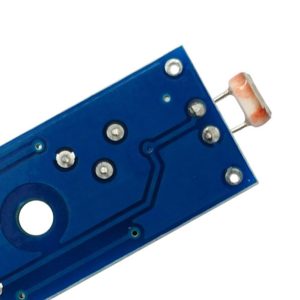
Introducing our Laser Receiver Sensor Module – a versatile addition to your Arduino projects. With a compact PCB size of 1.52 x 2.22cm, this module guarantees precise laser signal detection for your applications. Operating seamlessly on a 5V power supply, it ensures reliable performance in various setups.
Designed to deliver exceptional output, this module generates a high-level signal upon successfully receiving a laser signal. Conversely, it produces a low-level signal when no laser signal is detected. This functionality ensures precise and efficient laser tracking.
It’s essential to note that our sensor employs a non-modulated laser receiver. To achieve optimal results, we recommend using this module indoors, where minimal light, sunlight, or external sources of illumination could potentially interfere. This makes it particularly well-suited for applications in darker environments.
Upgrade your projects with confidence – the Laser Receiver Sensor Module is designed to bring accuracy and reliability to your Arduino setups. Whether you’re working on robotics, automation, or creative electronics, this module will be an invaluable asset.
Product Highlights:
- PCB Size: 1.52 x 2.22cm
- Operating Voltage: 5V
- Output: High level on laser signal reception; Low level when no laser signal detected
- Ideal for indoor use with minimal light interference
- Suitable for applications in darker environments
Elevate your Arduino experience today with the precision and efficiency of our Laser Receiver Sensor Module. Embrace innovation and reliability in your projects. Order now and receive 1x Laser Receiver Sensor Module, ready to empower your creations.
📌 Code Examples & Usage – Laser Receiver Sensor Module (Non-Modulator Tube, 5V)
📋 Overview
This laser receiver sensor module detects a focused light beam (laser pointer/laser diode) and provides a digital output indicating whether the beam is present.
Typical applications:
-
Beam-break alarms
-
Object counting
-
Tripwire / safety interlock demos
-
Simple optical detection
-
DIY automation triggers
📌 Non-modulator tube means it detects continuous light and is not a 38 kHz IR remote receiver.
⚙ How It Works (Simple)
-
Beam hits the sensor → output changes state
-
Beam blocked or misaligned → output returns to normal
-
Most modules include a small adjustment potentiometer to set sensitivity / threshold
🔌 Wiring
Most modules have 3 pins:
| Pin | Function |
|---|---|
| VCC | 5V |
| GND | Ground |
| OUT / DO | Digital output to Arduino/ESP32 |
Some variants also include AO (analog output) — if yours has it, you can read light intensity with an analog pin.
🔌 Wiring – Arduino Uno Example
-
VCC → 5V
-
GND → GND
-
OUT → D2
🔌 Wiring – ESP32 Example
ESP32 uses 3.3V logic input, which is usually fine.
-
VCC → 5V (or 3.3V if your module supports it — many do, but 5V is typical)
-
GND → GND
-
OUT → GPIO18
📌 If your module outputs a full 5V HIGH level and you want to be extra safe, use a simple voltage divider to bring OUT down to 3.3V.
🧪 1️⃣ Basic Digital Read Example (Arduino / ESP32)
✅ Quick test: aim a laser at the receiver and block/unblock the beam to see the state change.
🧪 2️⃣ Beam-Break Counter Example
Counts each time the beam is broken (useful for object counting).
📌 If your module outputs the opposite logic, reverse the LOW/HIGH transition in the if.
🧪 3️⃣ Interrupt Example (Fast Response)
Great for high-speed counting / quick reaction times.
🎛 Sensitivity / Threshold Adjustment (Important)
Most boards include a small trim pot:
-
Turn slowly until the output becomes stable
-
Adjust so it triggers reliably when the beam is present
-
Avoid pointing at direct sunlight or strong indoor lighting during setup
🧠 Tips & Troubleshooting
✔ No change when blocking beam:
-
Confirm laser is aligned and aimed directly at the receiver
-
Increase sensitivity (turn trim pot)
-
Reduce distance or use a stronger laser source
✔ Output flickers:
-
Reduce sensitivity
-
Add a small delay / debounce in code (10–50 ms)
-
Shield from sunlight / reflections
✔ Works only at close range:
-
Use a better collimated laser source
-
Add a small tube/shroud to reduce stray light
Additional information
| Weight | 30 g |
|---|---|
| Dimensions | 230 × 160 × 20 mm |
Only logged in customers who have purchased this product may leave a review.










Reviews
There are no reviews yet.