
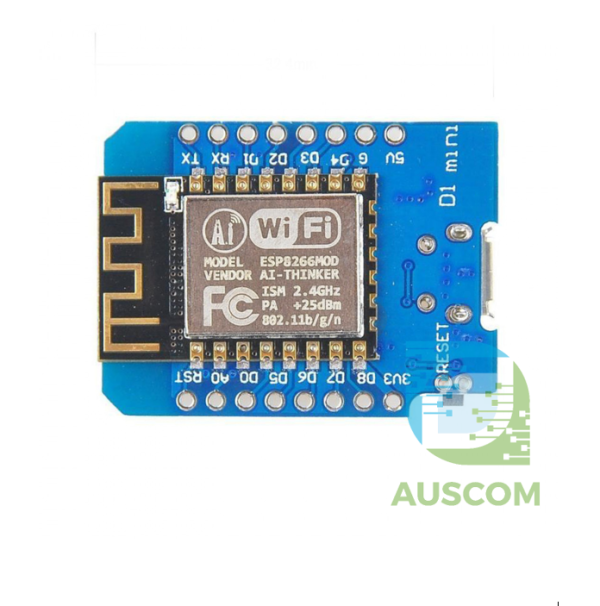
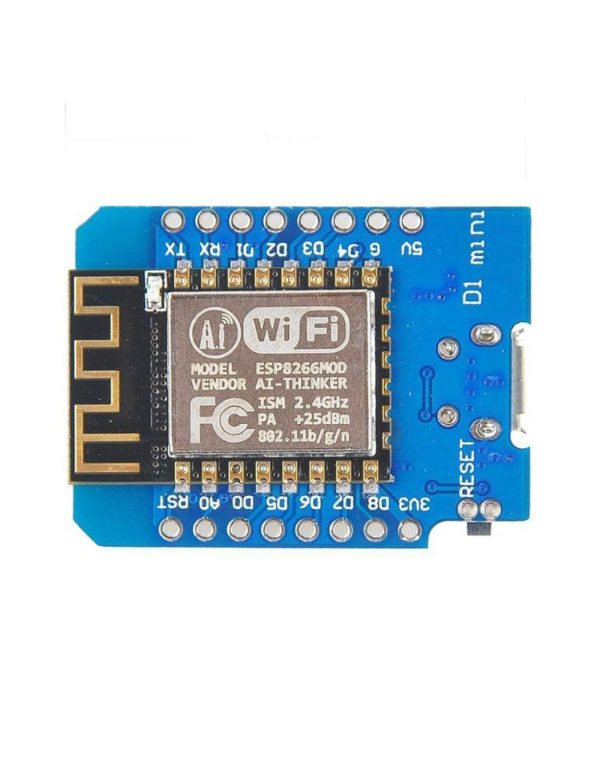
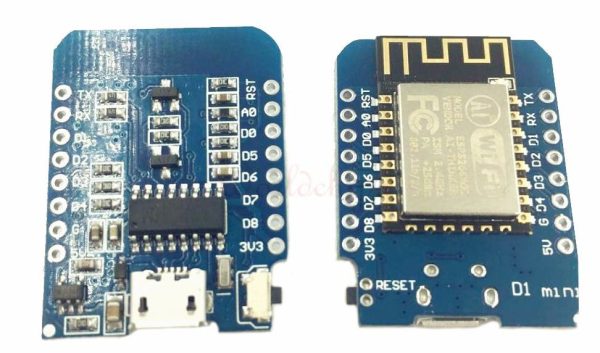
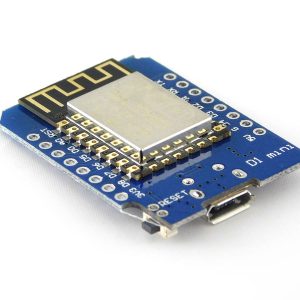
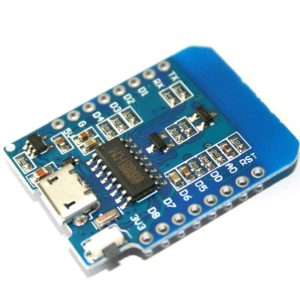
ESP8266 WeMos D1 MINI ESP-12E IoT WiFi Wireless Board Arduino IDE Compatible
$6.50 Inc. GST
You save (%)
- Description
- Code Examples
- Additional information
- Reviews (0)
Description
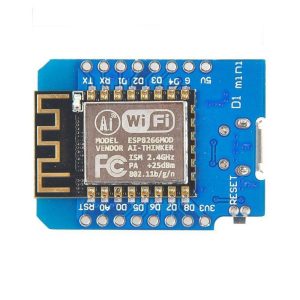
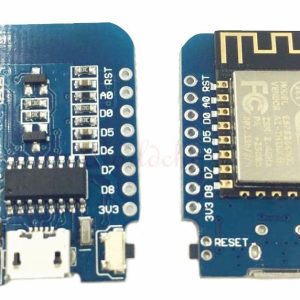
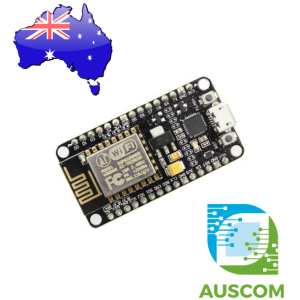
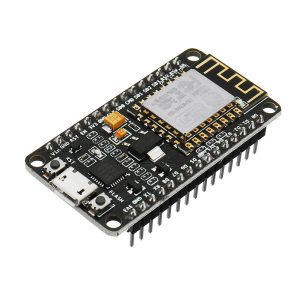
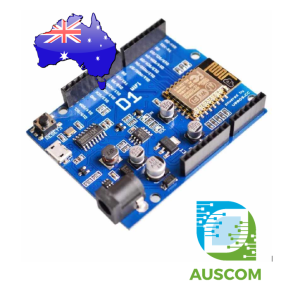
Introducing the ESP8266 WeMos D1 Mini ESP-12E IoT WiFi Wireless Board – Your Ultimate Development Companion
Unlock the power of seamless connectivity with the WeMos D1 mini, an ultra-compact 802.11 (Wifi) microcontroller development board. This ingenious board elevates the renowned ESP8266 wireless microcontroller, empowering it to function as a full-fledged development marvel. Experience programming ease akin to any Arduino-based microcontroller, courtesy of the built-in micro USB interface. Seamlessly program the D1 mini directly from the Arduino IDE, requiring no supplementary hardware.
Key Features:
- Microcontroller: ESP8266EX
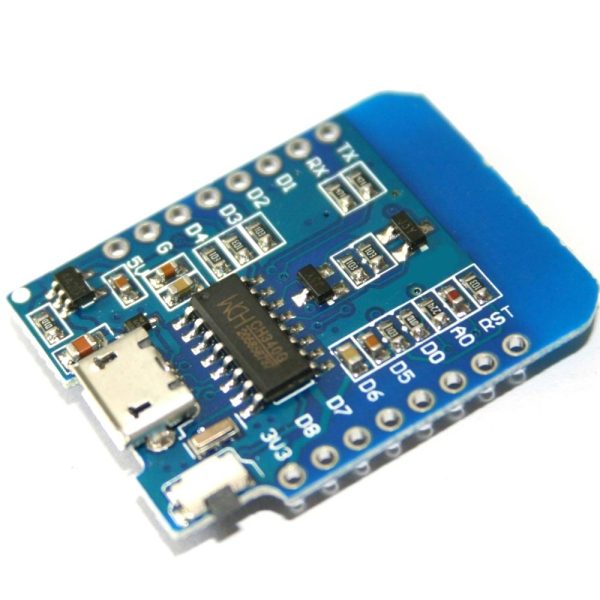
- Built-in USB ↔ Serial Converter: CH340G
- Digital I/O Pins: 11 (excluding D0)
- Analog Input Pins: 1
- Flash Memory: 4MB
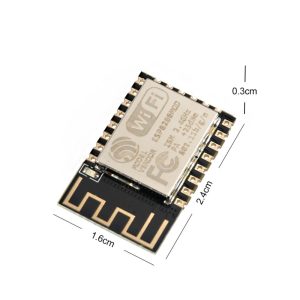
- Compact Dimensions (excluding pins):
- Length: 34.2 mm
- Width: 25.6 mm
- Height: 7 mm
- Inclusive Weight (including pins): 8.26 g
- Versatile Functionality: All I/O pins offer interrupt, PWM, I2C, and one-wire capabilities, except for D0
Package Contents:
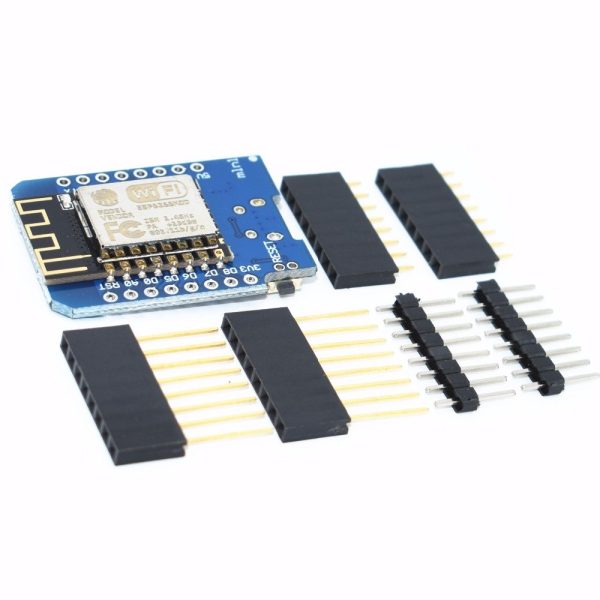
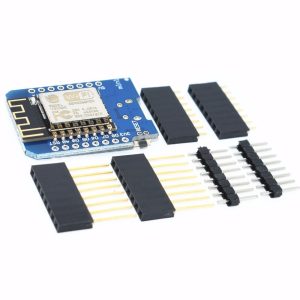
- 1× D1 Mini NodeMcu Development Board
- 2× Long Female Pins
- 2× Short Female Pins
- 2× Normal Pins
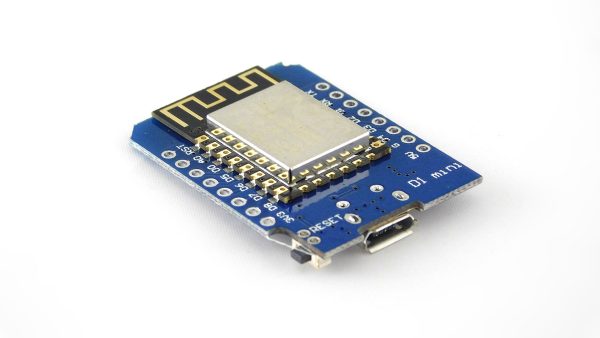
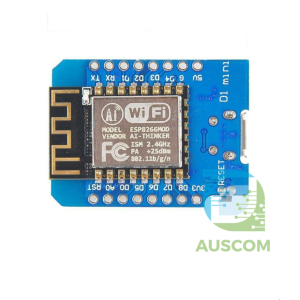
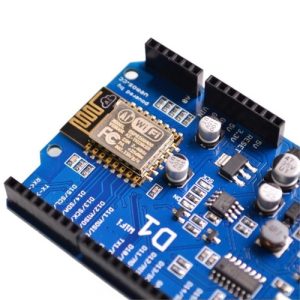
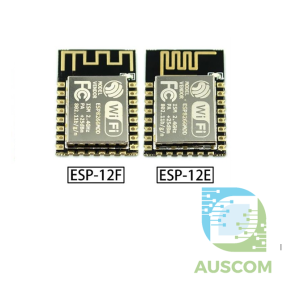
Please be aware that the manufacturer of the ESP12 chip may differ from the image.
Embrace a new era of development potential with the ESP8266 WeMos D1 Mini ESP-12E. Seamlessly integrate wireless capabilities into your projects and explore the endless horizons of IoT innovation. With its miniature footprint and Arduino IDE compatibility, this board redefines what’s possible. Unleash the power of connectivity today!
📌 Code Examples & Usage – ESP8266 Wemos D1 Mini (ESP-12E)
📋 Overview
The Wemos D1 Mini is a compact ESP8266-based WiFi development board that is fully compatible with the Arduino IDE.
Key features:
-
Microcontroller: ESP8266 (ESP-12E)
-
WiFi: 2.4 GHz 802.11 b/g/n
-
Logic level: 3.3 V
-
USB interface: Onboard USB-to-Serial
-
Programming: Arduino IDE
-
Small form factor with shield support
Ideal for:
-
IoT projects
-
WiFi sensors
-
Smart switches & relays
-
Home automation
-
MQTT & HTTP projects
⚠ Important Electrical Notes
-
Logic voltage: 3.3 V ONLY
-
GPIO pins are not 5 V tolerant
-
Board is powered via USB (5 V) or 5 V pin
-
Onboard regulator provides 3.3 V for ESP8266
✔ Safe and beginner-friendly (no external programmer required)
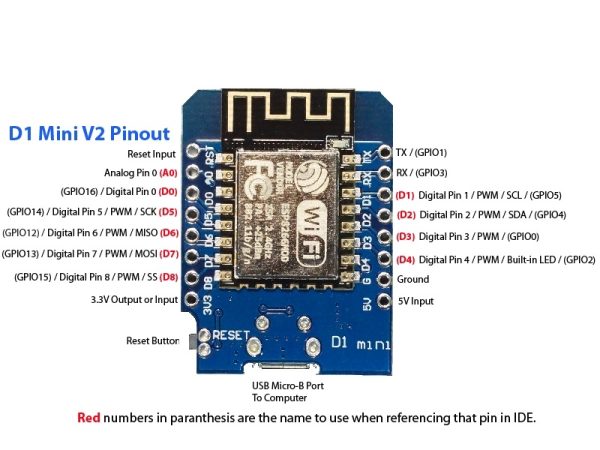
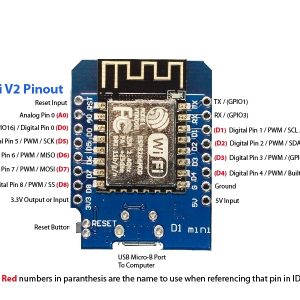
🔌 Pin Overview (Commonly Used)
| Pin | ESP8266 GPIO |
|---|---|
| D0 | GPIO16 |
| D1 | GPIO5 (SCL) |
| D2 | GPIO4 (SDA) |
| D3 | GPIO0 |
| D4 | GPIO2 (LED) |
| D5 | GPIO14 |
| D6 | GPIO12 |
| D7 | GPIO13 |
| D8 | GPIO15 |
| A0 | ADC (0–3.3 V max) |
📌 Onboard LED is usually on D4 (GPIO2) and is active LOW.
🛠 Arduino IDE Setup
1️⃣ Add ESP8266 Board Support
-
Open Arduino IDE
-
Go to File → Preferences
-
Add this URL to Additional Boards Manager URLs:
-
Open Tools → Board → Boards Manager
-
Install ESP8266 by ESP8266 Community
2️⃣ Board Settings
Select:
-
Board: LOLIN (Wemos) D1 mini
-
Flash Size: 4M (1M SPIFFS)
-
CPU Frequency: 80 MHz
-
Upload Speed: 115200
-
Port: (your COM port)
🧪 1️⃣ Basic Blink Test (Onboard LED)
✔ Confirms board, USB, and IDE setup are working
✔ LED is active LOW
🌐 2️⃣ WiFi Connection Example
🌍 3️⃣ Simple Web Server Example
✔ Type the ESP8266 IP address into your browser
✔ Great first IoT demo
📡 4️⃣ Read Analog Voltage (A0)
⚠ A0 max input is 3.3 V (some boards include a divider — check before using)
🧠 Tips & Best Practices
✔ Avoid using GPIO0, GPIO2, GPIO15 incorrectly at boot
✔ Use external power for relays, motors, and servos
✔ Use pull-ups on I²C (D1/D2 already have them)
✔ Keep WiFi antennas clear of metal enclosures
Additional information
| Weight | 40 g |
|---|---|
| Dimensions | 260 × 160 × 20 mm |
Only logged in customers who have purchased this product may leave a review.
You may also like…
-
 Expansion Boards & Shields
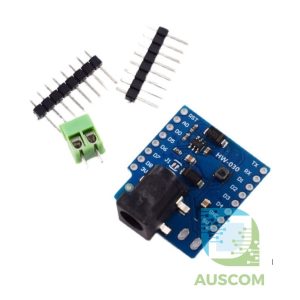
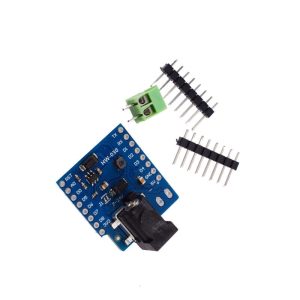
Mini DC Power Shield 7–24V to 5V 1A for Wemos D1 Mini ESP8266
$5.98 - $7.25 Inc. GST
You save (%) -
 OLED Display Modules
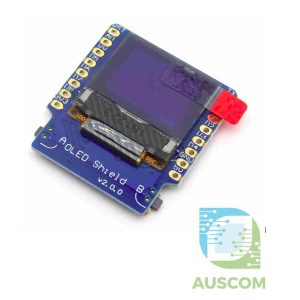
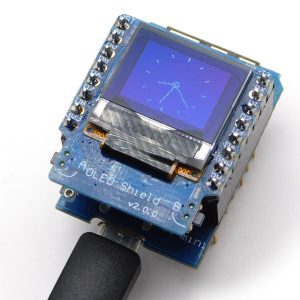
OLED Shield Display V2.0.0 for Wemos D1 Mini 0.66″ 64×48 I2C
$8.17 - $9.90 Inc. GST
You save (%) -
 Expansion Boards & Shields
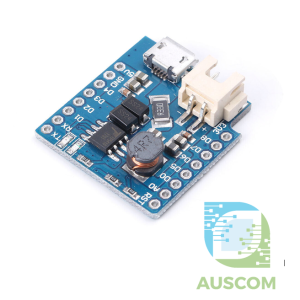
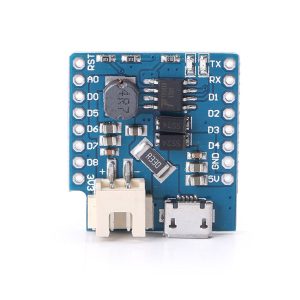
WeMos D1 Mini Battery Shield V1.1 Li-Po Charger 5V 1A Power Module
$6.81 - $8.25 Inc. GST
You save (%)









Reviews
There are no reviews yet.