
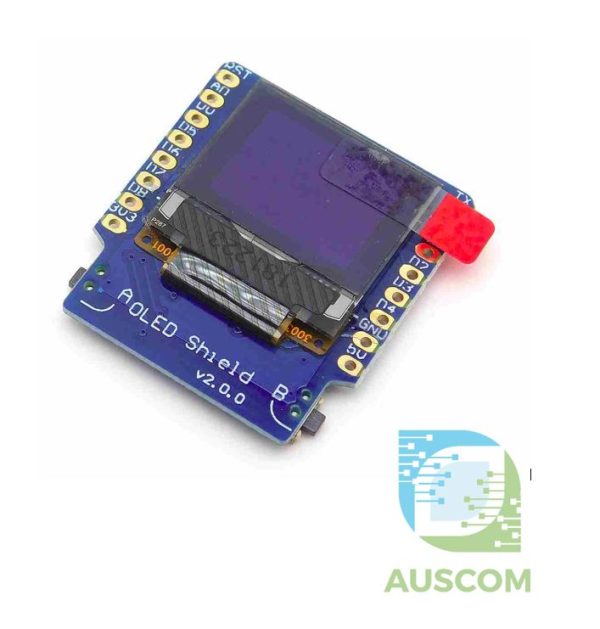
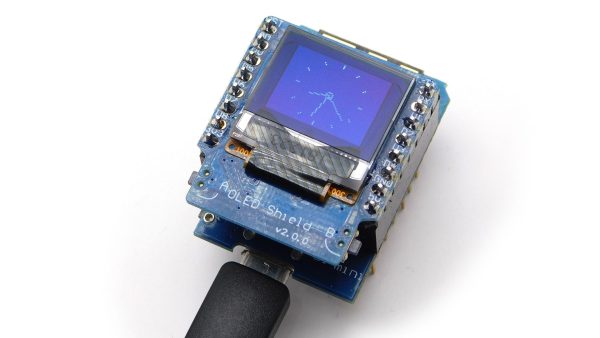
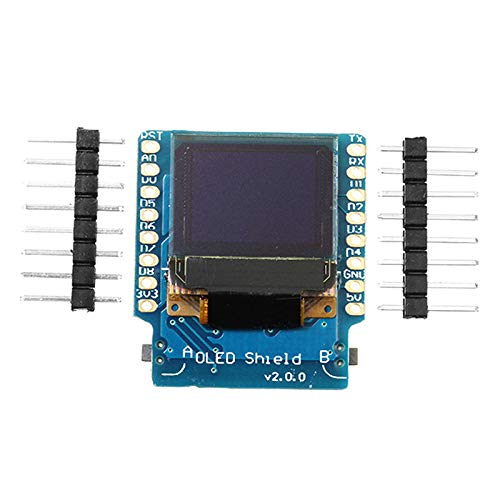
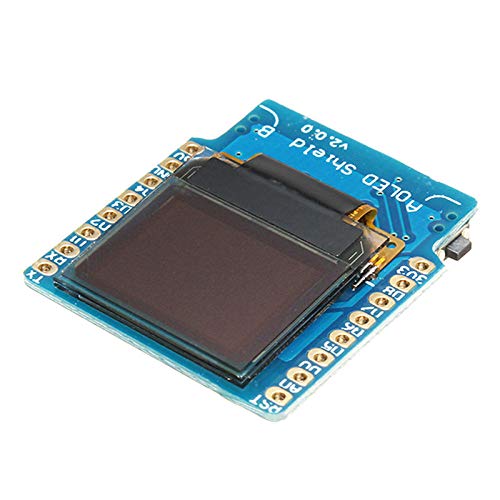
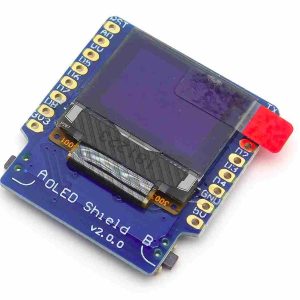
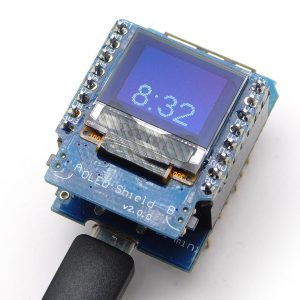
OLED Shield Display V2.0.0 for Wemos D1 Mini 0.66″ 64×48 I2C

$9.90 Inc. GST
You save
- Description
- Code Examples
- Additional information
- Reviews (0)
Description
🖥️ OLED Shield Display V2.0.0 for Wemos D1 Mini 0.66″ 64×48 I2C | AuscomTech
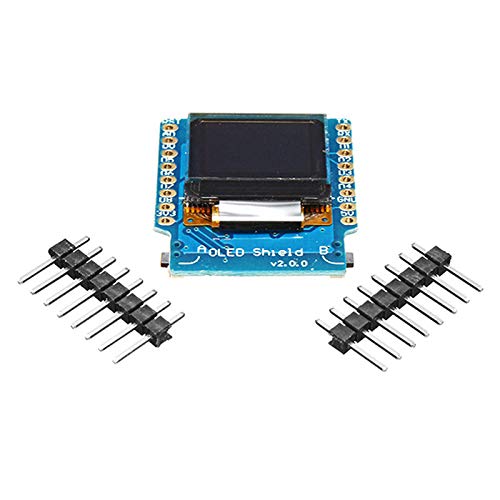
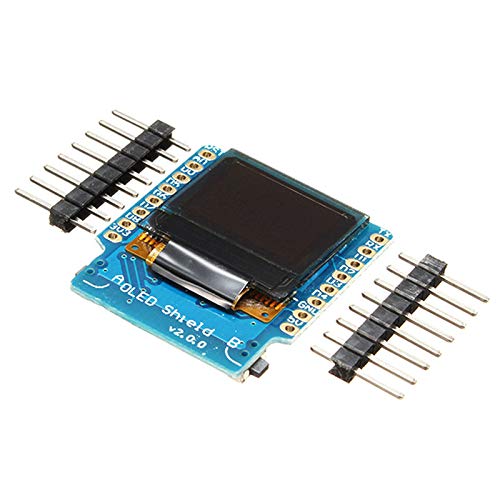
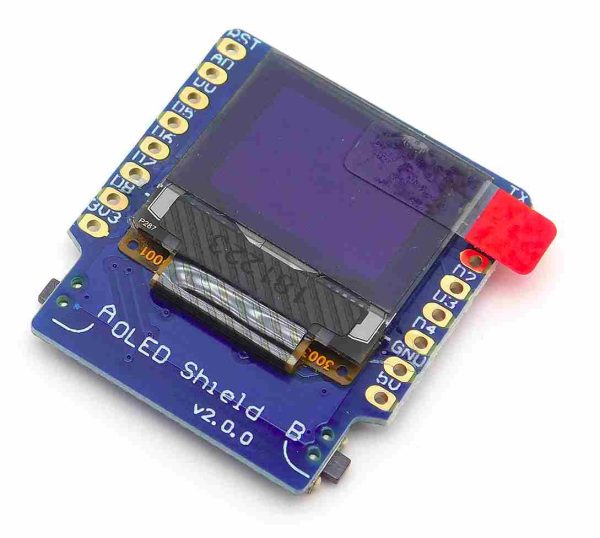
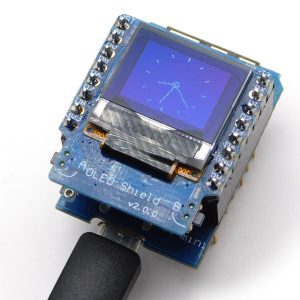
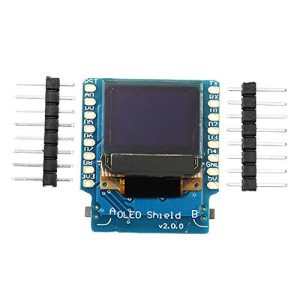
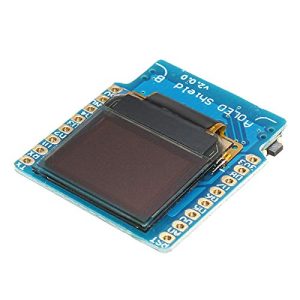
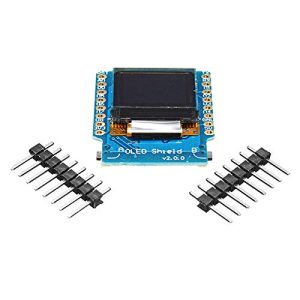
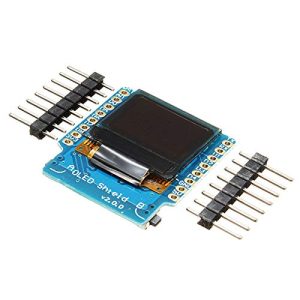
The OLED Shield Display V2.0.0 is a compact, low-power display shield designed specifically for the Wemos D1 Mini platform.
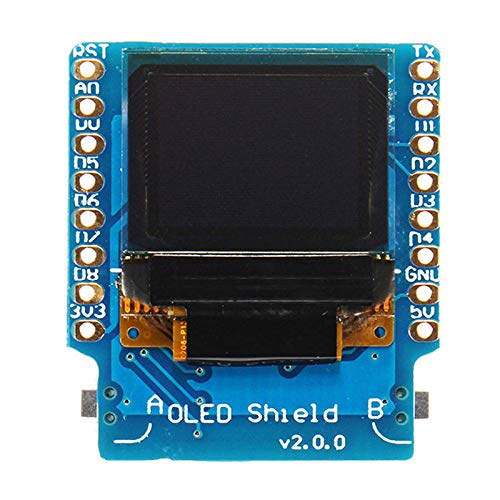
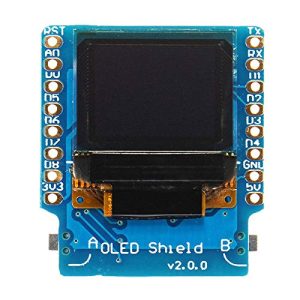
Featuring a 0.66-inch monochrome OLED with 64×48 resolution, this shield uses the SSD1306 driver and an I2C (IIC) interface for simple wiring and efficient communication.
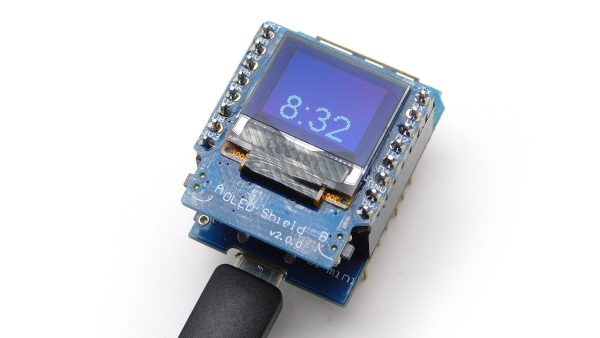
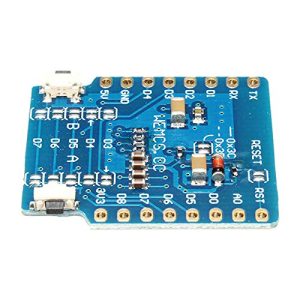
With two onboard programmable buttons, this module adds both visual output and user input in a single, stackable shield—ideal for IoT dashboards, menus, status indicators, and embedded user interfaces.
⭐ Key Features
🖤 0.66″ Monochrome OLED Display
Sharp, high-contrast OLED screen with 64×48 pixel resolution for clear text and icons.
🧠 SSD1306 OLED Driver IC
Widely supported controller ensures stable performance and compatibility with popular libraries.
🔌 I2C (IIC) Interface
Uses only two pins (SDA/SCL), reducing wiring complexity and conserving GPIO.
🎛️ Dual Onboard Buttons
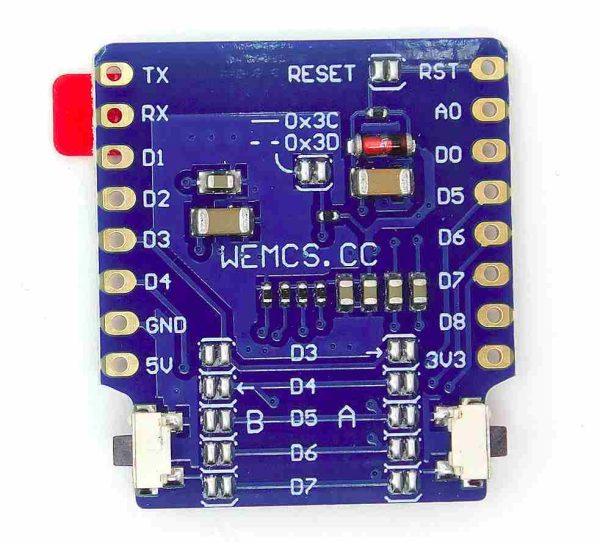
Two programmable buttons (A & B) provide user input for menus, navigation, or control.
🔁 Configurable I2C Address
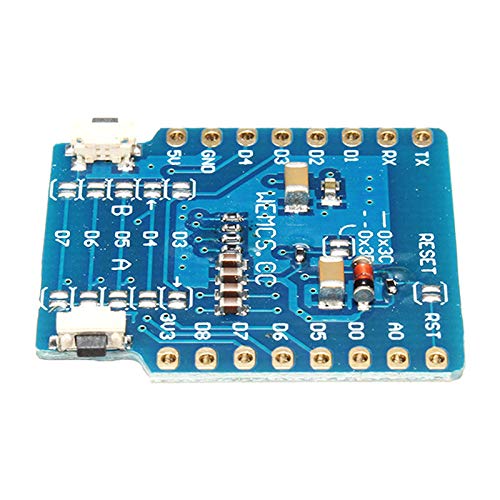
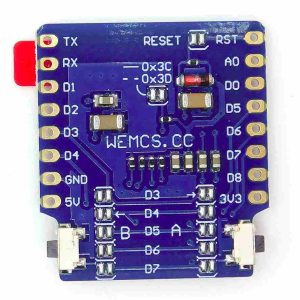
Selectable I2C addresses 0x3C or 0x3D for flexible bus configuration.
🧩 Stackable Shield Design
Designed to plug directly onto Wemos D1 Mini boards for clean, compact builds.
📊 Technical Specifications
Display Type: Monochrome OLED
Screen Size: 0.66 inch
Resolution: 64 × 48 pixels
Driver IC: SSD1306
Operating Voltage: 3.3V
Interface: I2C (IIC)
I2C Addresses: 0x3C / 0x3D (selectable)
Default Pin Mapping (Wemos D1 Mini):
• D1 – SCL
• D2 – SDA
• D3 – Button A (configurable)
• D4 – Button B (configurable)
(Buttons can be reassigned via onboard jumpers to other GPIOs, e.g. D3–D7)
⚠️ Important Notes
• Designed for 3.3V logic only
• Intended for Wemos D1 Mini form factor
• OLED brightness and content controlled via software
• Requires SSD1306-compatible library
🧩 Compatible With
• Wemos D1 Mini
• ESP8266-based D1 Mini variants
• Arduino IDE
• Adafruit SSD1306 library
• SparkFun OLED libraries
⚙️ Typical Applications
• IoT status displays
• Menu-driven interfaces
• Sensor data visualisation
• Portable and low-power projects
• Embedded control panels
• DIY electronics and prototyping
📦 Package Includes
• 1 × OLED Wemos D1 Mini Shield Display V2.0.0
📌 Code Examples & Usage – OLED Shield V2.0.0 for Wemos D1 Mini
0.66″ 64×48 I²C Display + 2 Buttons
📋 Overview
This OLED Shield plugs directly onto a Wemos D1 Mini (ESP8266) and provides:
✔ 0.66″ OLED display (64×48 resolution)
✔ I²C interface (uses only SDA & SCL)
✔ Two onboard buttons for user input
✔ Ultra-low power OLED technology
✔ Compact, stackable shield format
Ideal for:
-
Status displays
-
Small menus
-
IoT node feedback
-
Sensor readouts
-
Button-controlled projects
🔌 Hardware Details
Display
-
Controller: SSD1306 (or compatible)
-
Resolution: 64 × 48 pixels
-
Interface: I²C
-
Typical I²C address: 0x3C
I²C Pins (Wemos D1 Mini)
| Function | GPIO | Label |
|---|---|---|
| SDA | GPIO4 | D2 |
| SCL | GPIO5 | D1 |
Buttons
Most versions use:
| Button | GPIO |
|---|---|
| Button A | GPIO0 (D3) |
| Button B | GPIO16 (D0) |
(Exact pins can vary slightly between revisions — check silkscreen.)
📦 Library Setup (Arduino IDE)
Install the following libraries:
-
Adafruit SSD1306
-
Adafruit GFX
Arduino IDE → Library Manager → Search & install.
🧪 1️⃣ Basic OLED Test (Hello World)
🧪 2️⃣ Reading the Buttons
Buttons are active LOW.
🧪 3️⃣ Display Button Status on OLED
🧪 4️⃣ Simple Menu Example (Two Buttons)
This is excellent for:
-
Mode selection
-
Setpoints
-
Debug menus
📡 5️⃣ Display Sensor Data (Example)
You can easily pair this with DHT, DS18B20, BME280, etc.
🧠 Tips & Notes
✔ Resolution is small — keep fonts simple
✔ Text size 1 works best
✔ Avoid excessive screen updates to reduce flicker
✔ Buttons use internal pull-ups
✔ I²C address is usually 0x3C (scan if unsure)
✅ Works with Wemos D1 Mini ESP32 versions
This OLED shield communicates over I²C, so it’s compatible with:
-
Wemos D1 mini (ESP8266)
-
D1 mini style ESP32 boards (ESP32-WROOM / ESP32-S etc.)
What changes?
On ESP32, you just need to set the I²C pins explicitly using Wire.begin(SDA, SCL); and define the button GPIOs to match your board.
ESP32 Example (I²C + Buttons + OLED)
Use this as a second example snippet in your tab:
🔧 Quick troubleshooting note (worth adding to the tab)
If the OLED stays blank on ESP32:
-
Try I²C scan to confirm the address (usually
0x3C) -
Change the I²C pin pair in
Wire.begin(SDA, SCL)(common alternatives areSDA=4/SCL=5, or whatever your board labels as SDA/SCL) -
If buttons behave weirdly, update
BTN_A / BTN_Bto the correct GPIOs used on your ESP32 D1 mini variant
Additional information
| Weight | 50 g |
|---|---|
| Dimensions | 260 × 160 × 20 mm |
Only logged in customers who have purchased this product may leave a review.




Reviews
There are no reviews yet.