
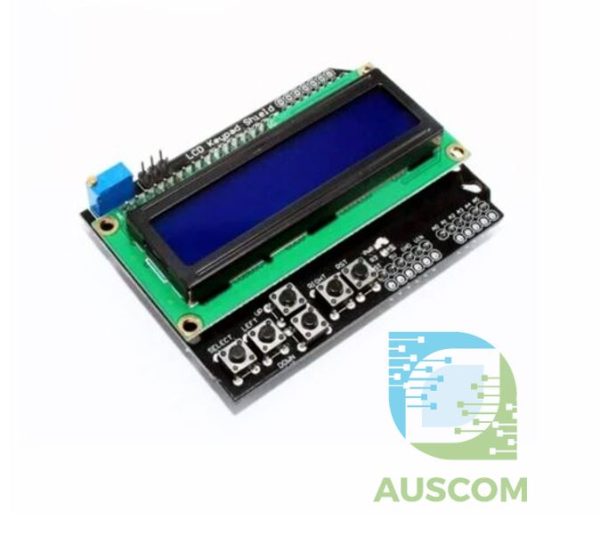
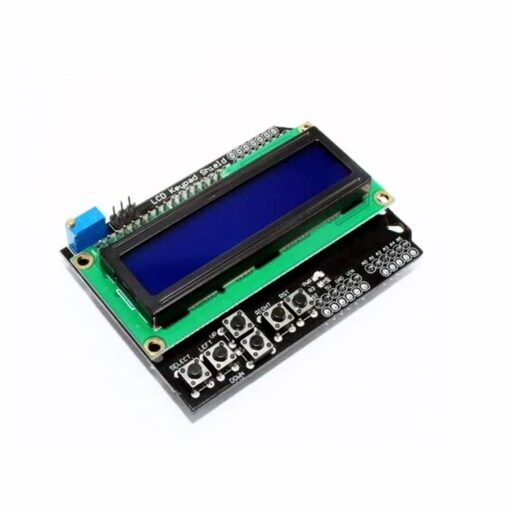
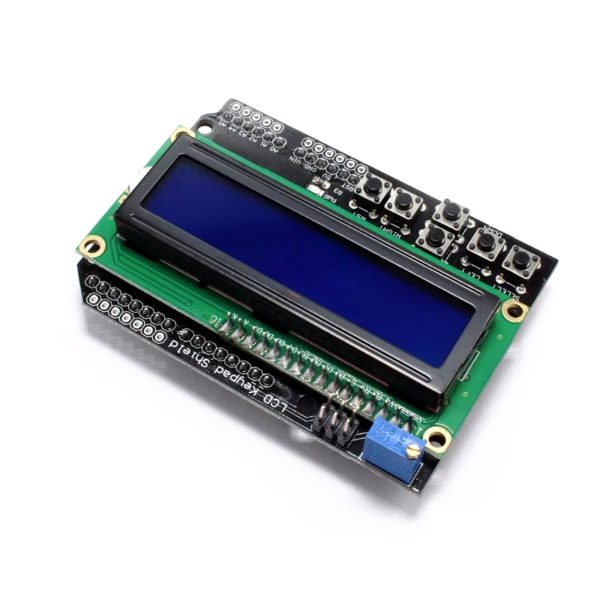
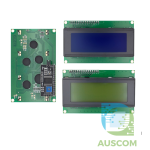
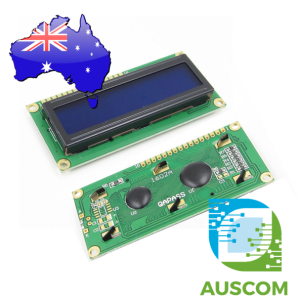
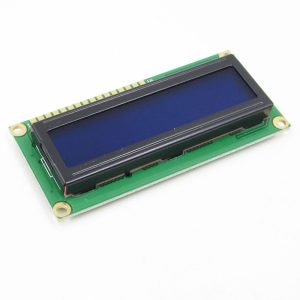
1602 16×2 Blue LCD Keypad Shield for Arduino Uno Mega 5V

$12.80 Inc. GST
You save
- Description
- Code Examples
- Additional information
- Reviews (0)
Description
🖥️ 1602 16×2 Blue LCD Keypad Shield for Arduino Uno Mega 5V | AuscomTech
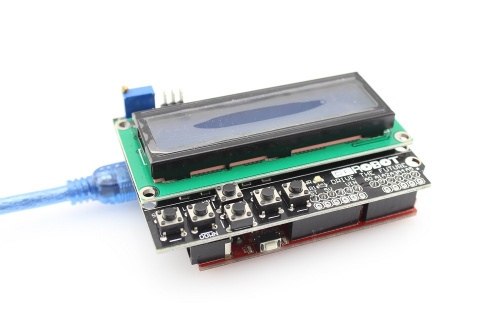
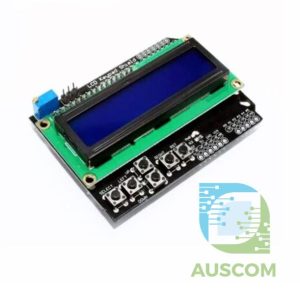
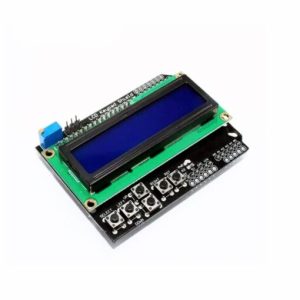
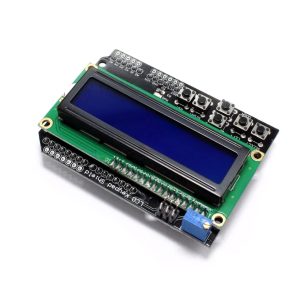
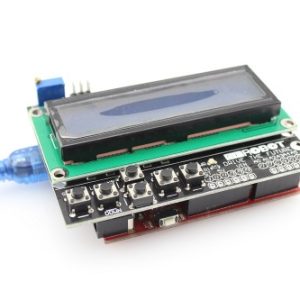
The 1602 16×2 Blue LCD Keypad Shield is a versatile, all-in-one display and input solution designed for Arduino projects that require a simple user interface.
Combining a clear 16×2 character LCD with a 5-button keypad and reset button, this shield plugs directly onto Arduino Uno and Mega boards, reducing wiring complexity while providing intuitive control and real-time data display. It’s ideal for menus, settings, diagnostics, and interactive projects.
⭐ Key Features
🧾 16×2 Blue Character LCD
Clear, high-contrast blue backlit display for readable output of text, values, and system status.
🔘 5-Button Keypad + Reset Button
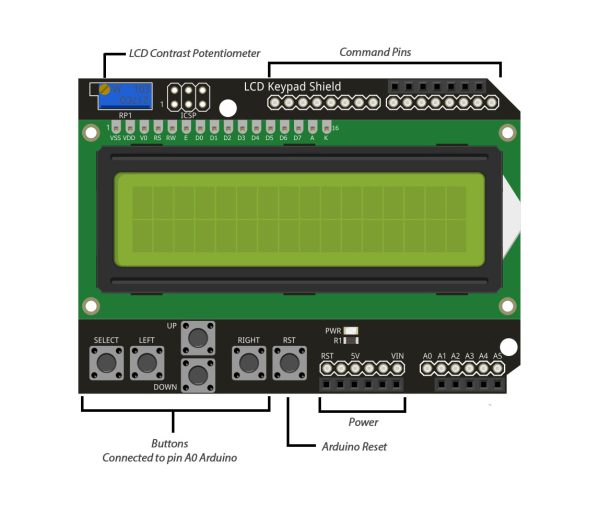
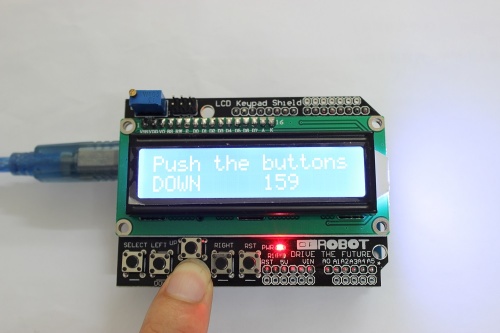
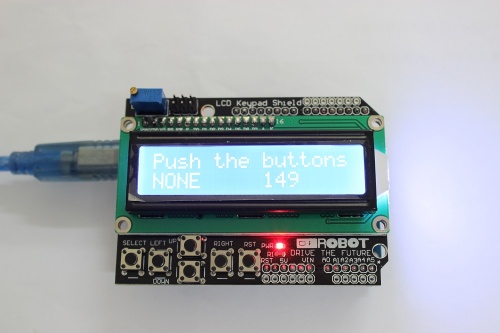
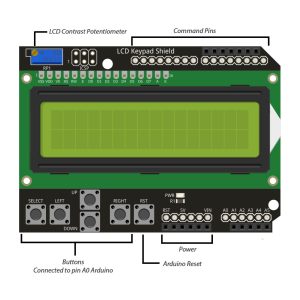
Includes UP, DOWN, LEFT, RIGHT, SELECT buttons plus a dedicated RESET for easy navigation and control.
⚡ Single-Pin Button Detection (A0)
All keypad buttons are read via a resistor ladder on analog pin A0, conserving valuable I/O pins.
🎛️ Adjustable Display Contrast
Onboard potentiometer allows fine adjustment for optimal visibility in different lighting conditions.
🔌 Direct Shield Mounting
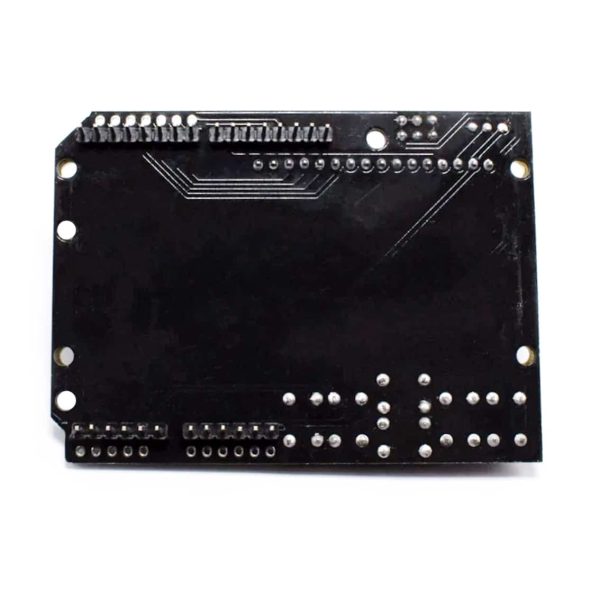
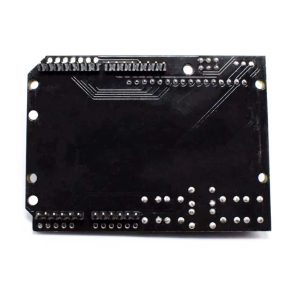
Stacks directly onto Arduino Uno and Mega boards for fast setup with no external wiring.
💡 Backlight & Power Indicators
Includes LCD backlight control and a power LED for clear operational feedback.
📊 Technical Specifications
Display Type: 16×2 character LCD
Display Colour: Blue with white characters
Operating Voltage: 5V DC
Interface Mode: 4-bit parallel
Keypad Buttons: 5 + Reset
Button Input Pin: A0 (analog)
Backlight Control: Digital pin
Contrast Adjustment: Onboard potentiometer
Pin Mapping:
• D4 – LCD DB4
• D5 – LCD DB5
• D6 – LCD DB6
• D7 – LCD DB7
• D8 – RS
• D9 – LCD Enable
• D10 – Backlight Control
• A0 – Keypad input
⚠️ Important Notes
• Designed for 5V Arduino boards only
• Uses multiple digital pins — check for conflicts with other shields
• Libraries such as LiquidCrystal are required for LCD operation
🧩 Compatible With
• Arduino Uno
• Arduino Mega 2560
• Arduino-compatible boards with Uno-style headers
• LiquidCrystal and compatible LCD libraries
⚙️ Typical Applications
• Menu-driven Arduino projects
• System status displays
• User input and navigation interfaces
• DIY instruments and controllers
• Educational and prototyping projects
📦 Package Includes
• 1 × 1602 16×2 Blue LCD Keypad Shield
📌 Code Examples – 1602 16×2 LCD Keypad Shield for Arduino UNO/Mega (5V)
📋 Overview
This 16×2 LCD keypad shield stacks directly onto an Arduino UNO / Mega and gives you:
-
A 16×2 blue LCD (HD44780 compatible)
-
5 push buttons:
SELECT,LEFT,RIGHT,UP,DOWN -
1 extra RESET button (wired to Arduino reset)
It’s perfect for:
-
Simple user menus
-
Parameter tuning (setpoints, speeds, modes)
-
Debug displays
-
Standalone control panels (no PC needed)
🔌 Pin Mapping (Typical)
Most 1602 keypad shields use this wiring:
LCD (4-bit mode)
| LCD Function | Arduino Pin |
|---|---|
| RS | D8 |
| EN | D9 |
| D4 | D4 |
| D5 | D5 |
| D6 | D6 |
| D7 | D7 |
Buttons (Analog Ladder)
All buttons share a single analog pin using resistor dividers:
| Button | Arduino Pin | Note |
|---|---|---|
| UP | A0 | different ADC ranges |
| DOWN | A0 | “ |
| LEFT | A0 | “ |
| RIGHT | A0 | “ |
| SELECT | A0 | “ |
| NONE | A0 | high value / near 1023 |
🧪 1️⃣ Arduino – Basic “Hello World” on LCD
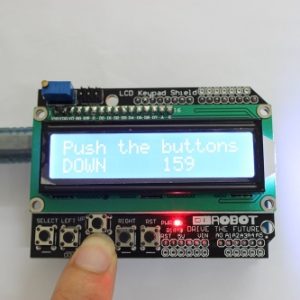
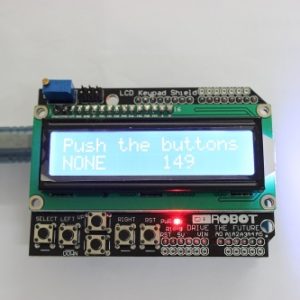
🧪 2️⃣ Reading the Keypad Buttons (A0)
Buttons are read as different analog values on A0. Exact thresholds can vary a little between shields, but typical values:
-
RIGHT ≈ 0–50
-
UP ≈ 100–200
-
DOWN ≈ 250–400
-
LEFT ≈ 400–600
-
SELECT ≈ 600–800
-
NONE ≈ > 800
Example: Detect Which Button is Pressed
🧪 3️⃣ Full Example – Show Button Name on LCD
🧪 4️⃣ Simple Menu Example (Change a Setpoint)
This shows how to use the keypad as a tiny menu to adjust a value.
This sort of example is great for:
-
Pump speed setpoints
-
Temperature limits
-
Duty cycles / thresholds
🔧 Using the Shield with Arduino Mega
The shield generally works out of the box with Arduino Mega as well, using the same pins, because those digital pins (4–9, A0) are in the same positions on the Mega’s headers.
Just select Arduino Mega in Arduino IDE and upload the same sketches.
🧠 Tips & Notes
-
Make sure to select 16×2 in
lcd.begin(16, 2). -
If characters look scrambled, check contrast pot on the shield.
-
If buttons mis-detect (e.g. UP reads as RIGHT), tweak the analog thresholds in
readKey(). -
The reset button on the shield is wired to the Arduino reset pin — handy during development.
Additional information
| Weight | 60 g |
|---|---|
| Dimensions | 260 × 160 × 20 mm |
Only logged in customers who have purchased this product may leave a review.




Reviews
There are no reviews yet.