
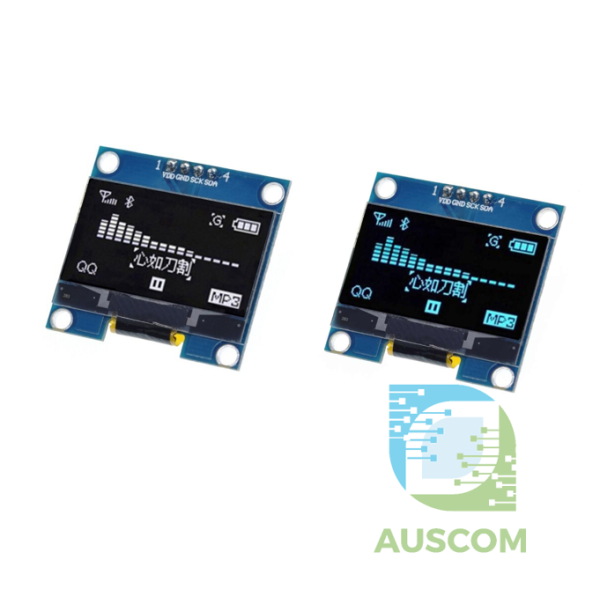
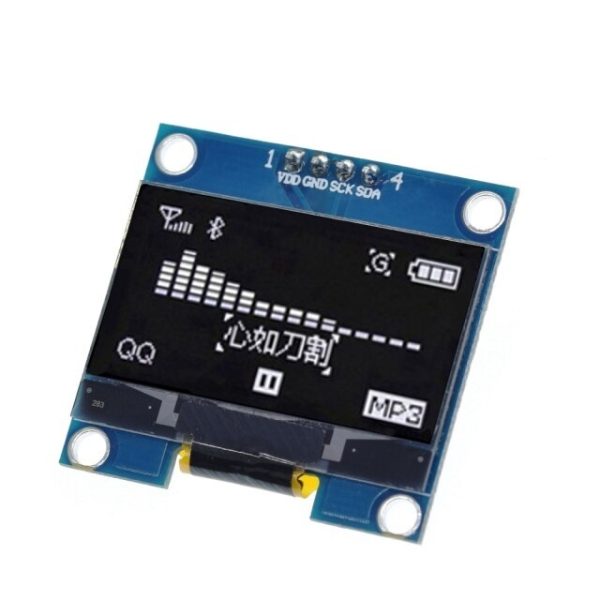
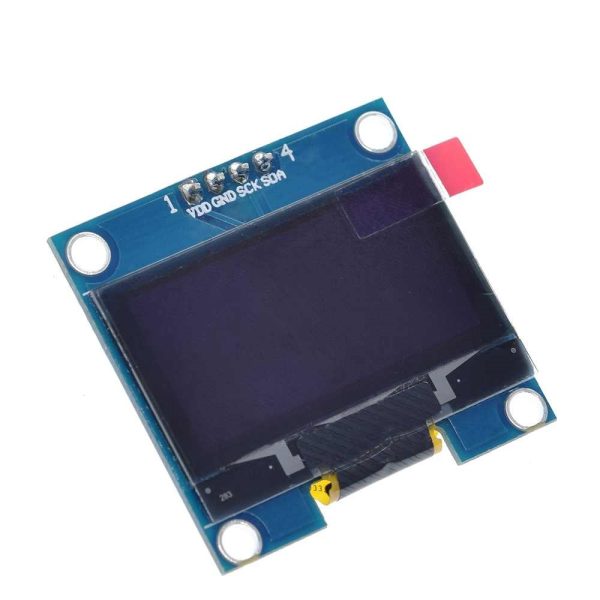
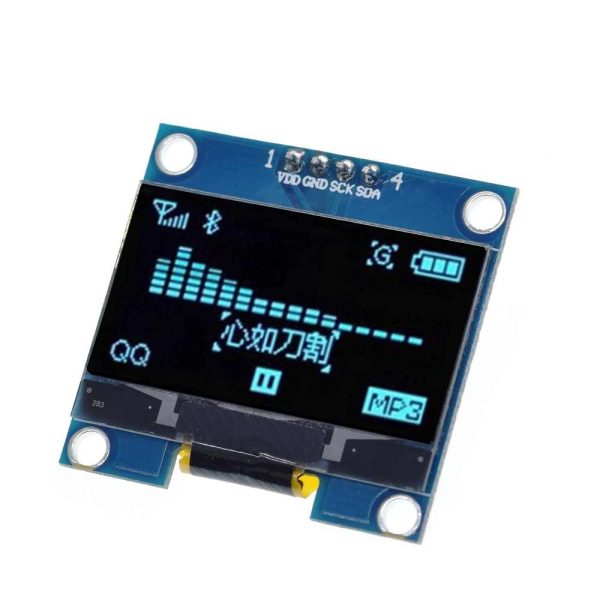
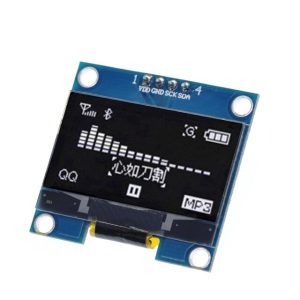
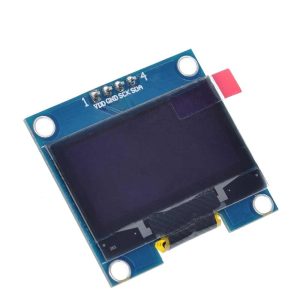
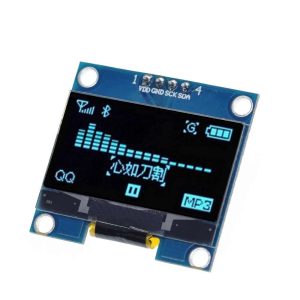
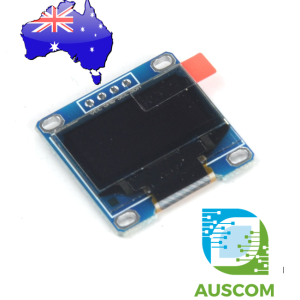
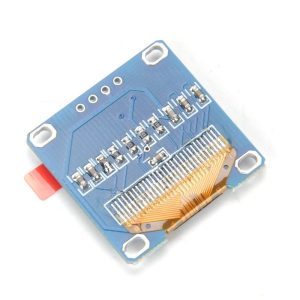
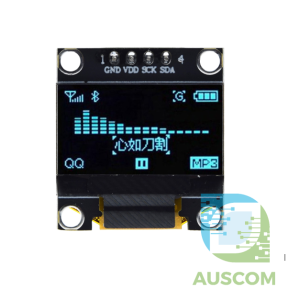
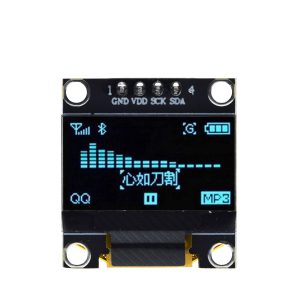
1.3″ OLED Display Module White Blue 128×64 Resolution I2C SPI SH1106 for Arduino Raspberry Pi
Price range: $9.95 through $12.95 Inc. GST
You save
- Description
- Code Examples
- Additional information
- Reviews (0)
Description
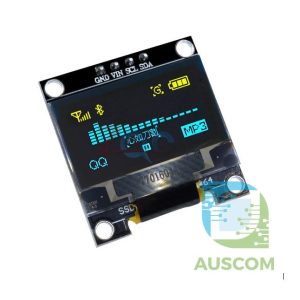
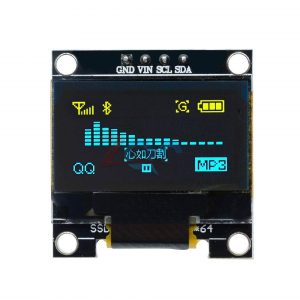
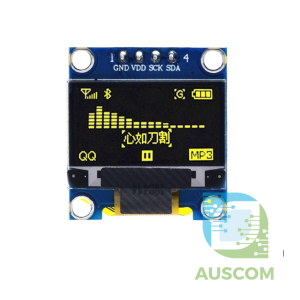
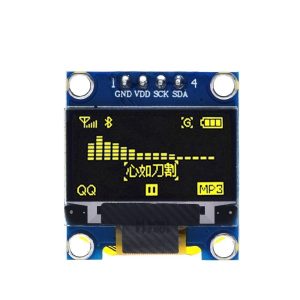
1.3″ OLED Display Module – White Blue, 128×64 Resolution for Superior Clarity & Performance
Unlock the full potential of your projects with the 1.3″ OLED Display Module in White Blue, offering a sharp 128×64 resolution for crystal-clear visuals. This high-performance module is designed to enhance user experience with a range of advanced features:
Key Features:
- High-Resolution OLED Display: Featuring a 128×64 resolution, this OLED module ensures exceptional clarity, delivering detailed visuals that bring your projects to life.
- Wide Viewing Angle: With an impressive 160°+ viewing angle, content remains visible from multiple perspectives, offering better accessibility and flexibility.
- Energy-Efficient Technology: Consume ultra-low power at just 0.08W during operation, surpassing traditional TFT displays, making this OLED module perfect for battery-powered or low-energy applications.
- Flexible Power Supply: Designed to work seamlessly with DC 3V-5V power supply systems, the module is compatible with both 3.3V and 5V setups without requiring adjustments, ensuring hassle-free integration.
- Industrial-Grade Durability: With an operational temperature range of -30°C to 70°C, this OLED display module is built to withstand tough environments, making it ideal for industrial and outdoor applications.
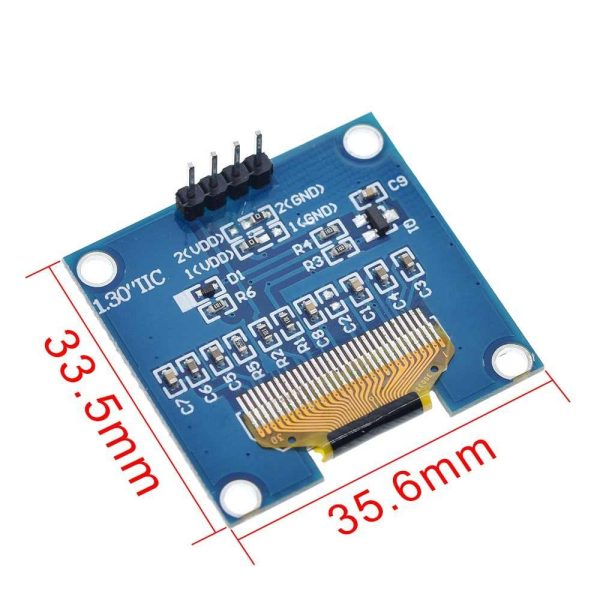
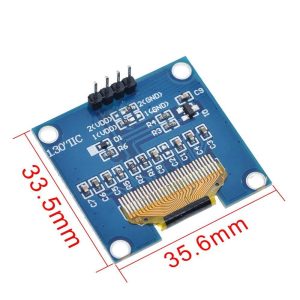
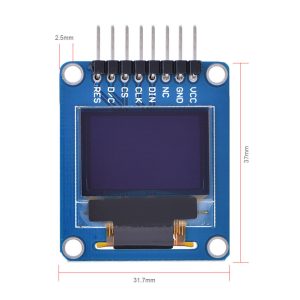
- Compact and Space-Saving: The ultra-compact size of 35.4mm x 33.5mm x 4.3mm optimizes space in tight configurations, allowing you to include the display in a wide variety of projects.
- Multiple Operating Modes: Choose between SPI or I2C (IIC) modes to best suit your project needs, ensuring seamless communication with other devices.
- Advanced Connectivity: Featuring a Chip Select (CS) signal, this module allows multiple SPI or IIC devices to share the same bus, simplifying system design.
- Universal I/O Compatibility: Supports both 3.3V and 5V I/O levels, eliminating the need for extra configuration and making integration easier than ever.
- SH1106 Drive Chip: Powered by the reliable SH1106 internal drive chip (also compatible with the popular SSD1306), this OLED module ensures consistent, high-quality performance.
Why Choose the 1.3″ OLED Display Module?
Perfect for Arduino projects, Raspberry Pi applications, IoT devices, and industrial systems, this 1.3″ OLED display offers exceptional versatility, reliability, and power efficiency. Whether you’re creating interactive displays, sensors, or smart devices, this module is the ideal choice for enhancing visual output in your electronics projects.
📌 Code Examples & Usage – 1.3″ OLED Display Module (128×64, I²C / SPI)
📋 Overview
This 1.3 inch OLED display module provides a crisp 128×64 pixel resolution and is ideal for:
-
Sensor readouts
-
Status displays
-
Menus and UI
-
IoT dashboards
-
Data logging projects
OLED displays offer high contrast, wide viewing angles, and low power consumption, with no backlight required.
This module supports both I²C and SPI interfaces (interface selection depends on board version and solder jumpers).
⚠ Important Notes (Read First)
-
Logic voltage: 3.3 V – 5 V compatible (most modules include onboard regulation)
-
Common controllers:
-
SSD1306
-
SH1106
-
-
I²C address is typically 0x3C
-
ESP32 and Arduino are fully supported
If the display shows nothing, the controller type or address is usually the issue.
🔌 Wiring – I²C Mode (Most Common)
I²C Pinout
| OLED Pin | Arduino Uno | ESP32 (Example) |
|---|---|---|
| VCC | 5V | 3.3V |
| GND | GND | GND |
| SDA | A4 | GPIO21 |
| SCL | A5 | GPIO22 |
✔ Only 4 wires required
✔ Recommended for beginners
📦 Library Installation (Arduino IDE)
Install these libraries:
-
Adafruit GFX Library
-
Adafruit SSD1306
(or SH1106 library if required)
Arduino IDE → Library Manager → Search and install.
🧪 1️⃣ Arduino Example – I²C OLED (SSD1306)
🧪 2️⃣ ESP32 Example – I²C OLED
🔁 3️⃣ If Your Display Uses SH1106
Some 1.3″ OLEDs use SH1106 instead of SSD1306.
Install:
-
Adafruit SH1106 or U8g2 library
Example using U8g2 (very reliable):
👉 If SSD1306 code doesn’t work, try SH1106 or U8g2.
🧪 4️⃣ SPI Mode (If Required)
Some boards expose SPI pins:
| OLED Pin | Function |
|---|---|
| SCK | SPI Clock |
| MOSI | SPI Data |
| CS | Chip Select |
| DC | Data / Command |
| RES | Reset |
SPI requires more wires but offers higher refresh rates.
(I²C is recommended unless SPI is specifically needed.)
🧠 Common Problems & Fixes
| Issue | Likely Cause | Fix |
|---|---|---|
| Blank screen | Wrong controller | Try SH1106 |
| Nothing detected | Wrong I²C addr | Scan bus |
| Garbled text | Wrong resolution | Use 128×64 |
| ESP32 no output | SDA/SCL not set | Call Wire.begin() |
🔎 I²C Address Scanner (Helpful)
Additional information
| Weight | 50 g |
|---|---|
| Dimensions | 260 × 160 × 20 mm |
| Colour | White, Blue |
Only logged in customers who have purchased this product may leave a review.




Reviews
There are no reviews yet.